Add a stencil to a template in Visio
If your favorite Visio template doesn't include a stencil you want, add the stencil to the template, then save a copy of the improved template.
First, add a stencil to the template.
-
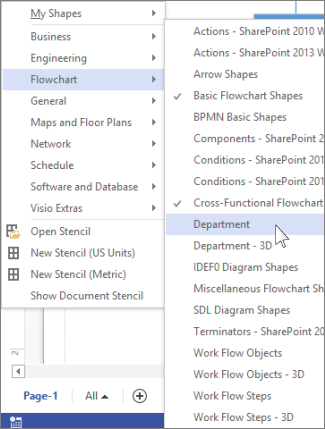
In the Shapes window, click More Shapes.
-
Click the stencil you want the template to have – move your pointer over the categories to see the stencil lists in each category. Checkmarks indicate stencils the template already has.

-
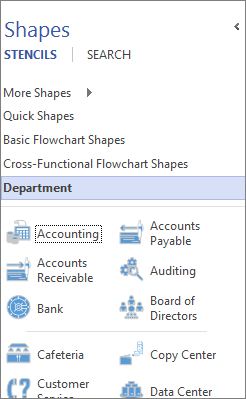
The new stencil appears in the stencils list in the Shapes window.

Now, save the file as a new Visio template.
-
Click File > Save As.
-
Choose a location, and in the Save as type list, choose Visio Template (or Visio Macro-Enabled Template if you added macros to the file).
-
Give the template a name and click OK.
To find and open your custom template
-
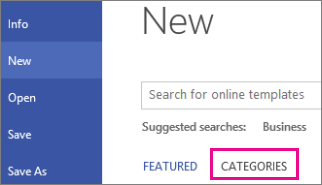
Click File > New, then below the template search, click Categories.

-
In the Categories gallery, click New from Existing, then click Create.
-
Find your saved template and click Open.
Tip: Pin your new template to the "Recent Drawings" list, so it's easy to find. Click File > Open > Recent Drawings, find your template file, then click the pin icon
 next to the file name. Then, every time you open Visio, the pinned template always appears at the top of the list.

No comments:
Post a Comment