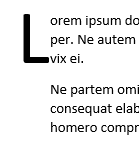
A drop cap (dropped capital) is a large capital letter used as a decorative element at the beginning of a paragraph or section. The size of a drop cap is usually two or more lines.
The following illustration shows your options for positioning a drop cap.

Add a drop cap
-
Select the first character of a paragraph.

-
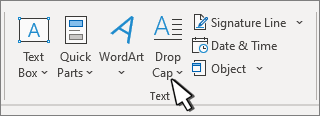
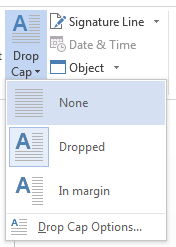
Go to INSERT > Drop Cap.
-
Select the drop cap option you want.
-
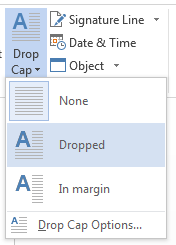
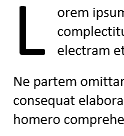
To create a drop cap that fits within your paragraph, select Dropped.
-
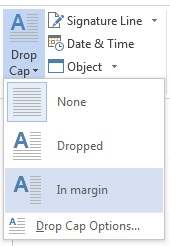
To create a drop cap that is in the margin, outside of your paragraph, select In margin.
-
Tip: You can change the size and font of the drop cap, as well as its distance from the text. To do so, select Drop Cap > Drop Cap Options, and under Options, make your selections.
Remove a drop cap
-
Highlight the large drop cap letter.
-
Go to INSERT > Drop Cap, and select None.
See also
Add or change a drop cap
-
On the View menu, select Print Layout.
-
Select the paragraph that you want to begin with a drop cap.
The paragraph must contain text, and cannot be inside a text container.
-
On the Format menu, select Drop Cap.
-
Select Dropped or In margin.
-
Select the options that you want.
Remove a drop cap
-
On the View menu, select Print Layout.
-
Select the paragraph that contains the drop cap that you want to remove.
-
On the Format menu, select Drop Cap.
-
Select None.
No comments:
Post a Comment