Change a message background
Give messages a professional look when you change the default white background. Whether you select a different background color or go for more advanced gradients, textures, or picture options, the possibilities are nearly limitless.
Add a background color, gradient, texture, pattern, or picture
-
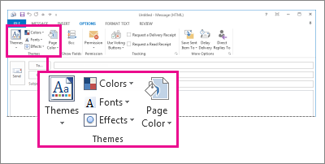
Begin writing your message, and then click Options > Page Color.

-
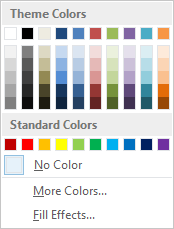
Pick a color, or click More Colors to get more options. To remove the color, click No Color.

-
If you want to add a gradient, texture, pattern, or picture, click Fill Effects.
-
Select the fill options you want.
The color of the gradient, texture, or pattern is based on the color you selected in step 2.

Add a background color, gradient, texture, pattern, or picture
-
On the Options tab, in the Themes group, choose Page Color.
-
Do one of the following:
-
Choose a color in the Theme Colors or Standard Colors palette.
-
Choose More Colors to get a more detailed palette.
-
Choose No Color to remove any color.
-
-
Choose Fill Effects to add a gradient, texture, pattern, or picture, and then choose the fill options that you want.
Note: If you chose a color in step 2, the gradient, texture, or pattern is based on that color.
Add a background color, gradient, texture, pattern, or picture
-
On the Message Options tab, in the Themes group, click Page Color.
-
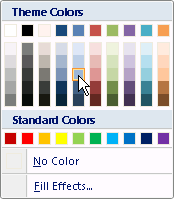
Click a color on the Theme Colors or Standard Colors palette. To remove the color, click No Color.

-
If you want to add a gradient, texture, pattern, or picture, click Fill Effects.
-
Select the fill options that you want.
Tip: The color of the gradient, texture, or pattern is based on the color that you select in step 2.
No comments:
Post a Comment