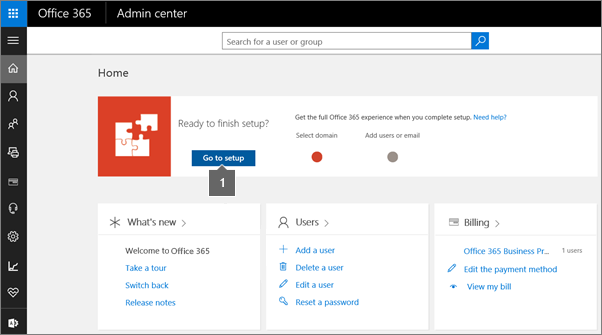
Gather the information you need to create Office 365 DNS records
Check the Domains FAQ if you don't find what you're looking for.
| |
Find the TXT record value and verify
-
Sign in to Office 365 with your work or school account.
-
Click your domain, then choose Start setup. You'll go back to the domains setup wizard to see the specific value you need to add.
-
On the Verify Domain page, you'll find step-by-step instructions to add a record to verify your domain.
-
Copy the MS=msXXXXXXXX value shown.
-
Go to Create DNS records for Office 365, and click the link for your DNS host to see the step-by-step instructions.
-
Follow the steps for creating the TXT record (or MX record) at your DNS host, then verify the domain back in Office 365.

Find MX record value for email and more
-
Sign in to Office 365 with your work or school account.
-
On the Domains page, select your domain.
-
Under Required DNS settings, you'll see the DNS records to add.
You'll want to keep this information available while you make changes at your DNS host, so you can copy and paste the values.
The groups of DNS records that are listed on the page depend on your choices listed under Domain purpose.
-
Go to Create DNS records for Office 365, and then click the link for your DNS host to see step-by-step instructions for adding records at that DNS host's website.
-
Follow the steps for creating the records at your DNS host.
You're done!

Still need help?


 New to Office 365?
No comments:
Post a Comment