Wrap text around an object in PowerPoint
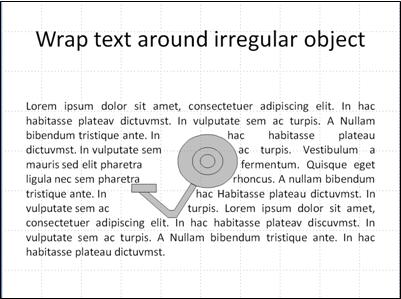
Wrapping text around objects like tables, pictures, shapes, charts, and SmartArt graphics is not supported in PowerPoint.
If text wrapping is a feature you'd like to see supported in PowerPoint in the future, please send us your feedback.
Workaround methods to mimic text wrapping
In the meantime, here are some workaround methods you can try to mimic the appearance of wrapping text around objects in PowerPoint. None of them are as stable as true text wrapping, and you may find spacing issues in your presentation if use them:
Use text boxes to mimic text wrapping
You can manually wrap text around a square object by inserting multiple text boxes around the object.
-
Insert the object you'd like to wrap text around on your slide.
-
Position your object where you want it on the slide.
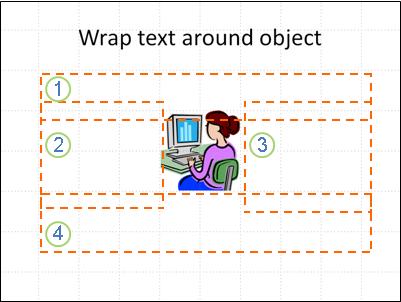
In the following example, the image is surrounded by text. To do that, four text boxes were put around the object: one above, one on the left, another on the right, and a final one below the object.
-
Go to Insert > Text > Text Box. Draw the fist text box on the slide, setting the width and position so that it will fit the text you want to write, and then type your text.
-
After you fill up all of the space in your first text box, insert other text boxes. Change the width of each text box and position it so that it fits your text.
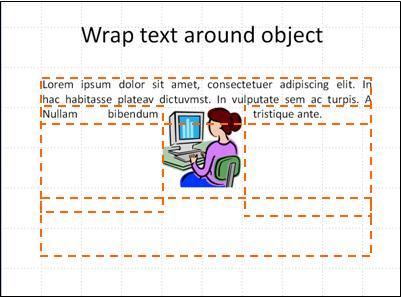
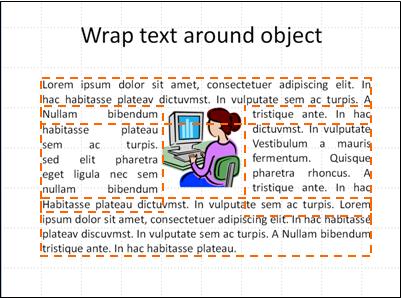
Continue adding text boxes and writing text until you have the layout that you want.
Manually insert spaces in text to mimic text wrapping
-
Insert the object you'd like to wrap text around on your slide.
-
Right-click anywhere on the object and choose Send to Back.
-
Type or paste text over your object.
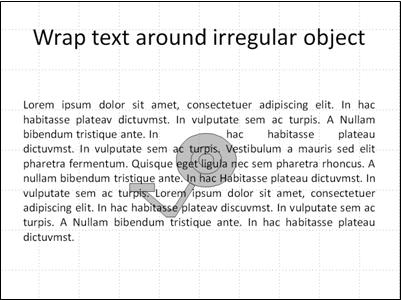
Click next to the text at the upper-left edge of your object, and then use the TAB and/or SPACEBAR to move the text past the right edge of the object.
-
Repeat step 3 until each covering line of text is moved beyond the right edge of the object.
Import wrapped text from Word
The following procedure applies to PowerPoint 2016, PowerPoint 2013, and PowerPoint 2016 for Mac only.
Although this method involves using two Office programs, it may be the fastest method if you're working with a large amount of text.
-
Go to the PowerPoint slide where you want to use text wrapping, and click Object on the Insert tab.
-
In the Object type list, click Microsoft Word Document, and then click OK.
-
In the Word window that appears, type or paste your text and insert your image where you want it.
-
Right-click the image, point to Wrap Text, and then click Tight.
-
Click on your PowerPoint slide to see your wrapped text inserted on the slide. (If you're using PowerPoint 2016 for Mac, close the Word file to see your wrapped text inserted on the PowerPoint slide.)
-
Your object and wrapped text appear in a box that you can adjust by dragging and resizing. To change the image or wrapped text, double-click in the box to re-open Word and make your changes.
No comments:
Post a Comment