Wrap text around an object in PowerPoint 2010
Important: Unlike in other products such as Microsoft Word 2010, text wrapping (around objects such as tables, pictures, shapes, charts, and SmartArt graphics) is not available in PowerPoint 2010. Microsoft takes the needs of our customers seriously, and we apologize for this lack of parity across our products. In response to customer demand, the procedures below might help you achieve a look similar to true text wrapping, but they are merely workarounds. They are not as stable as true text wrapping, and may cause spacing issues if you later change the position of a picture or add or remove text, for example,
What do you want to do?
Wrap text around a square object
You can manually wrap text around a square object by inserting multiple text boxes around the object.
-
Insert your image into your PowerPoint slide. If you are unsure how to do this, refer to the article Insert a picture.
Tip: You may want to use the ruler and gridlines to measure and lay out your slide. On the View tab, in the Show/Hide group, select the Ruler and Gridlines check boxes. The ruler appears above your slide and the slide displays gridlines in one inch (1") increments.
-
Position your object where you want it on the slide. Consider how you want your image to be positioned in relation to your text.
For example, do you want your image to be completely surrounded by text? Or do you maybe want the image on the right or left with the text next to it?
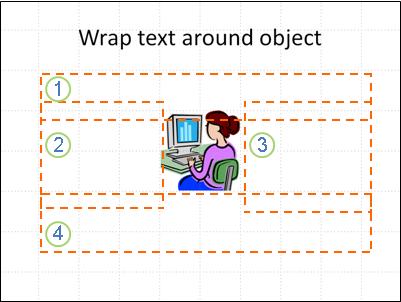
In the following example, the image is surrounded by text. To do that, four text boxes were put around the object: one above, one on the left, another on the right, and a final one below the object.
-
On the Insert tab, in the Text group, select Text Box. Modify the width and position of the first text box so that it will fit the text you wish to write, and then type your text.
-
After you fill up all of the space in your first text box, insert another two text boxes (one to the right and the other to the left of your image). Again, you will need to modify the width of the text box and position it so that it fits your text.
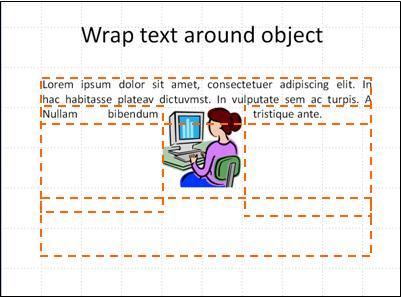
Tip: You may want to use the Snap objects to grid feature to hold your clip art and text boxes in place. If you are unsure how to do this, refer to the article Turn the snap to grid and snap to object options on or off
-
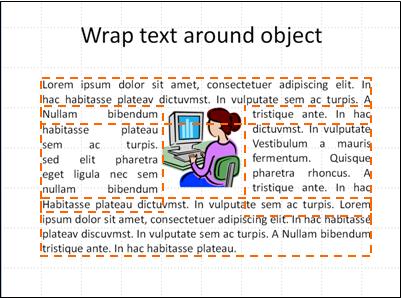
Continue adding text boxes and writing text until you have the layout that you want.
Wrap text around an irregular object
-
Insert an image on your PowerPoint slide. If you are unsure how to do this, refer to the article Insert a picture.
-
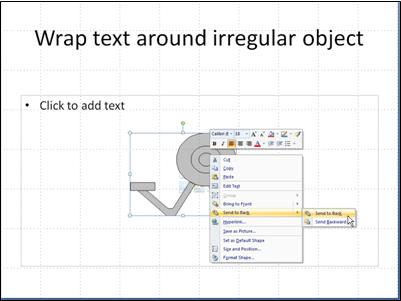
Right-click anywhere on the object, point to Send to Back, and then click Send to Back.
-
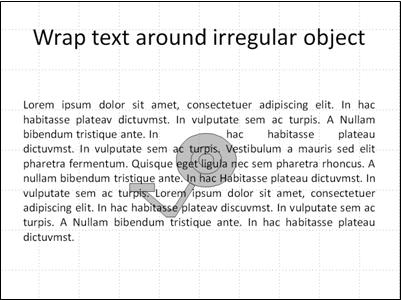
Type or paste your text over your object.
-
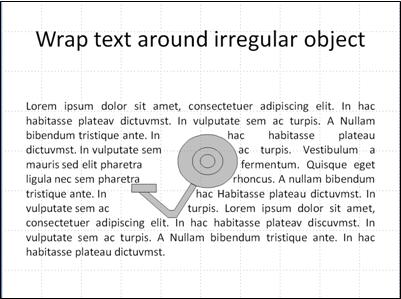
Point to the text at the top left edge of your object, and then use the TAB and/or SPACEBAR to move the text past the right edge of the object.
-
Repeat step 3 until each covering line of text has been moved beyond the right edge of the object.
No comments:
Post a Comment