Add your user photo to Office 365
You can add your user photo to Office 365 from your Home page, or while using Outlook or Skype for Business. Your photo will appear everywhere there's a user photo box in Office 365.
To add your user picture to Office 365 for business while using a computer
-
Find a picture you want to use, and store it on your computer, OneDrive, or other location you can get to. The picture needs to be smaller than 4 MB. You can use .png, jpg, and gif.
-
Sign in to Office 365 with your work or school account at office.com.
-
To one of the following:
-
If you're at your Home page, choose the user photo box
 > View account > Personal info > Change photo. Browse to where you photo is stored, select it, crop it as needed, and then choose Save. Close the windows.
 -
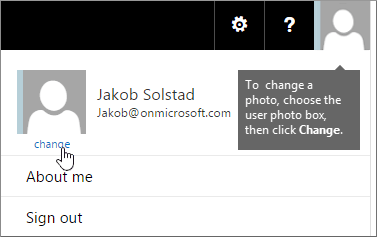
If you're in Outlook, choose the user photo box
 > Change > Upload photo. Browse to where your photo is stored on your computer, OneDrive, or other location. Choose the photo, click Open > Save.
Does your photo appear sideways? If this happens, upload the photo at the Home page so you can rotate it.
-
If you're in Skype for Business, choose the user photo box

 >Edit or Remove Picture. This takes you to Outlook. Follow the instructions above to add your picture. >
-
To add your user picture to Office 365 for business while using an iPhone
-
On your iPhone, open a browser, and go to office.com. Choose Sign in.

-
In Office 365, tap the user photo box
 > View account.
-
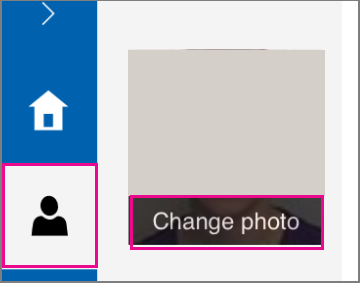
Tap the Personal info icon.
-
Choose Change photo > Choose a photo. Follow the instructions in the app to select your photo.
Does your photo appear sideways? Use the rotate button (right above the Save button) to make the picture vertical before you upload it.
Admins: How to add photos on behalf of users
If you are an Office 365 admin, there are two ways you can add photos on behalf of your users.
Method 1: Use the Exchange Admin Center
-
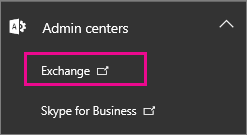
Go to the Office 365 admin center, and then open the Exchange admin center.
-
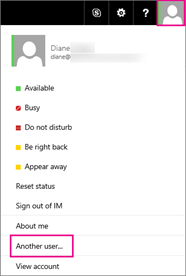
Choose your own profile picture, and then choose Another user.
-
Select the user you want to update, and then choose OK.
-
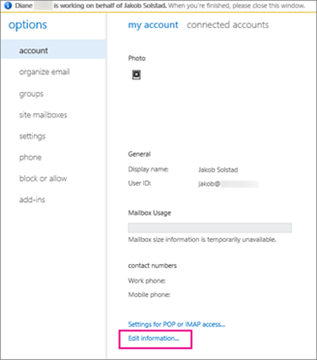
Under Account, choose Edit information.
-
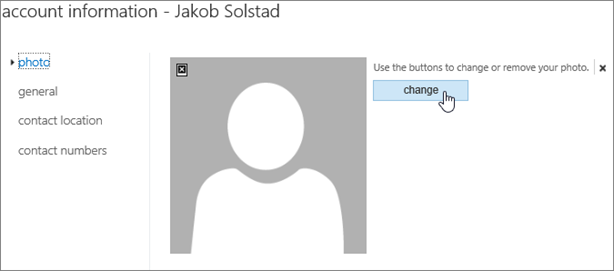
Choose Change.
-
Browse to the photo you want to upload, select it, and then choose Save. You're done!

Method 2: Use Windows PowerShell
-
Set-UserPhoto Windows PowerShell cmdlet. For example:
Set-UserPhoto "username" -PictureData ([System.IO.File]::ReadAllBytes("C:\Users\Administrator\Desktop\photo.jpg"))
No comments:
Post a Comment