Use Avery templates in Word 2016 for Mac
If you use Avery paper products, such as labels, business cards, dividers, name badges and more, you can use the Avery templates in Word. All you need is the product number.
After you have selected your Avery product in Word, or customized a labels document to match the labels that you have, you can prepare Word with the text that you want to print to those labels in a variety of ways. In this topic, Using your Avery product with Word links to instructions for printing a sheet of the same label, a sheet of different labels that you've typed, or merging contact information with a labels document to automatically print labels for those contacts.
Find your Avery® product number in Word
-
On the Mailings tab, click Labels.

-
In Labels, click Options.
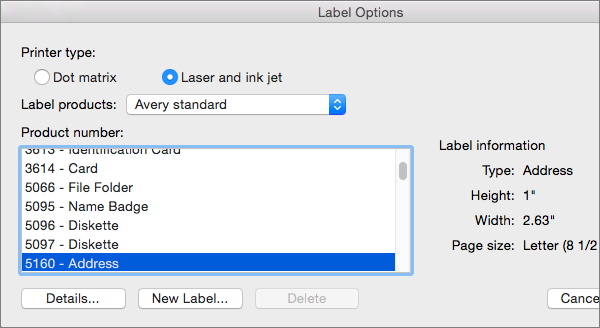
Word displays the Label Options dialog box.

-
Under Printer type, select the type of printer you are using.
The type of printer that you select affects the list of label products that Word displays.
-
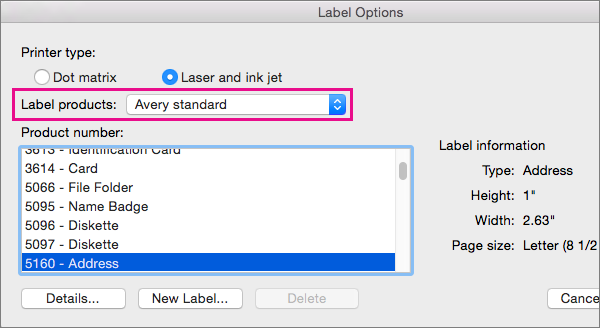
In the Label products list, select one of the Avery options.

-
In the Product number list, select the number that matches the product number of your Avery product.
-
Click OK.
-
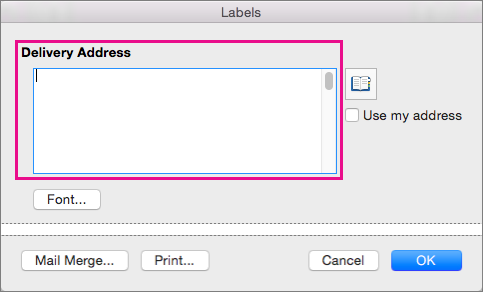
If you want the same address or information on all labels in the sheet, type it in the Delivery Address box, and click OK.

When you click OK in Labels, Word creates a new document with the information from Delivery Address laid out for printing to the type of labels that you selected. For more ways to prepare to print labels, see Using your Avery product with Word, later in this topic.
Customize a Word document to use your Avery® sheet
If your Avery template isn't in the Product number list, you can create a custom template in Word.
-
Measure the label, divider, or card and the space between each.
-
Follow steps 1-4 of Find your Avery® product number in Word, but in step 4, in the Product number list, pick the product number that's closest to yours.
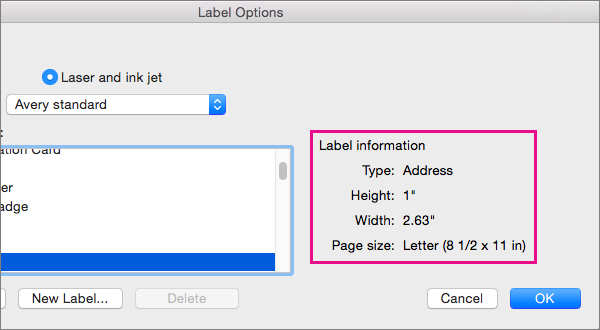
In Label Options, check the measurements shown under Label information to help with selecting the label size that best matches your product.

-
Click New Label.
Word displays New Custom laser or New Custom dot matrix, depending on the type of printer specified in Label Options.

-
Change the numbers in the boxes to match the label product that you have.
The Preview box shows how the measurements apply to your Avery sheets.
-
After you have the correct measurements, click OK twice to return to Labels.
-
If you want the same address or information on all labels in the sheet, type it in the Delivery Address box, and click OK.

When you click OK in Labels, Word creates a new document with the information from Delivery Address laid out for printing to the type of labels that you configured. For more ways to prepare to print labels, see Using your Avery product with Word, later in this topic.
Using your Avery product with Word
After you have Word configured to use your Avery product, you have a few options:
-
Print the same address, or other information, on all of the labels on a sheet, as described in Create return address labels in Word 2016 for Mac.
-
Print different addresses, or other information, on the labels by typing each of them, as described in Create and print labels in Word 2016 for Mac.
-
Use the information in the contacts list on your Mac to fill out and print labels, as described in Print labels or envelopes using mail merge in Word 2016 for Mac and your email contacts.
-
Merge information, such as names and addresses, in an Excel spreadsheet with a document to print that information to labels, as described in Create mailing labels in Word by using mail merge.
No comments:
Post a Comment