Create an assignment and set a date in the future when you'd like it to distribute to students.
Create a new assignment
-
Navigate to the General channel in your desired classroom and select Assignments.
-
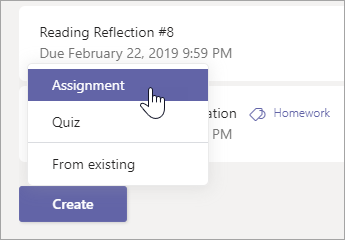
Select Create>Assignment.
-
Give your assignment a title—this is required.
-
Choose multiple classes or individual students to assign using the dropdowns. Your assignment will default to All Students in the current class.
Note: You can only assign work to individual students in one class at a time.
-
Beneath the Date due and Time due fields, select Edit.
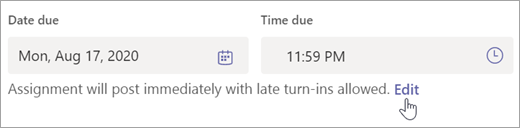
This will open the Edit assignment timeline window. Choose a date in the future when you'd like this assignment to post to students. You can also adjust the due date and close date of the assignment here. When you're finished making selections, select Done.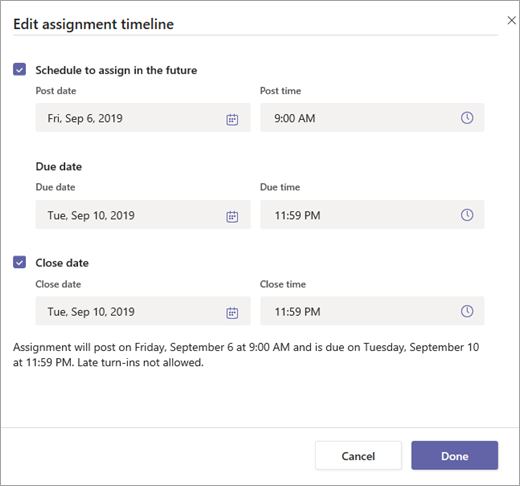
-
Finish adding details to your assignment:
-
Assignment title (required)
-
Instructions (optional)
-
Set points available using any denominator you wish. For example: 100 points or 4.0. (optional)
-
Attach resources to the assignment by selecting Add resources. You can also attach a blank Word, Excel, or PowerPoint file for your students to turn in during this step. (optional)
-
Add a category. (optional)
-
Select Add rubric to add a grading rubric.
-
-
Select Schedule. Student(s) will be notified of their new assignment on the day you chose.
The scheduled assignment will appear on your list of assigned work.

No comments:
Post a Comment