Get started with OneNote and notebooks
Office Training Center > OneNote training > OneNote 2016 Training > Get started with OneNote and notebooks
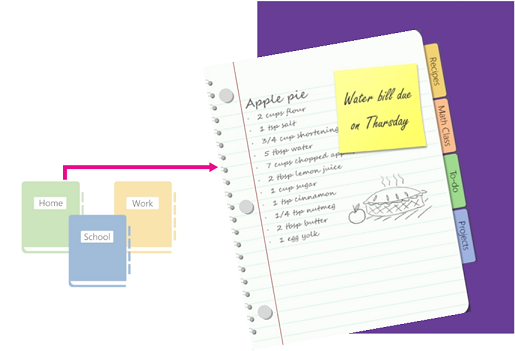
First, let's find OneNote on your device. After you start OneNote, your next step is to either create your own notebook or use the default notebook. Notebooks are for big things, like home, school, and work.

Find OneNote after installation
| For version: | See: |
|---|---|
| Windows 10 | |
| Windows 8 | |
| Windows 7 |
Create a notebook
-
Open OneNote (press WIN+SHIFT+N).
-
Choose File > New.
-
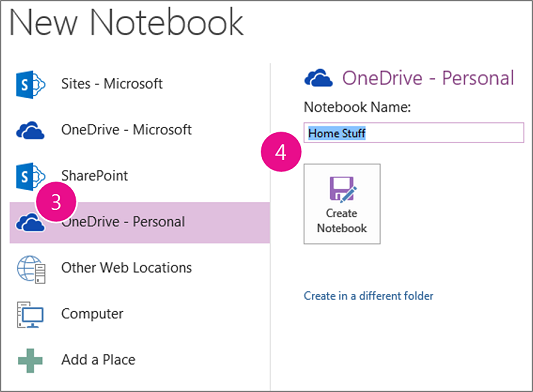
Choose OneDrive – Personal.
-
Under Notebook Name, type a name, and then click Create Notebook.

Open a notebook
-
Choose File > Open (press CTRL+O).
-
Under Open from other locations, choose Recent Notebook, and then choose the notebook.
-
To pin the notebook to the Recent Notebook list, click the pin.


Microsoft Office Tutorials: Get Started With Onenote And Notebooks >>>>> Download Now
ReplyDelete>>>>> Download Full
Microsoft Office Tutorials: Get Started With Onenote And Notebooks >>>>> Download LINK
>>>>> Download Now
Microsoft Office Tutorials: Get Started With Onenote And Notebooks >>>>> Download Full
>>>>> Download LINK el