Change the display name that e-mail recipients see
If your email recipients see only part of your name, such as your first name, but you want them to see your full name, you can easily make the desired change. The display might show only part of your name if you did not type your full name when you first set up your email account.
Note: If you are using a Microsoft Exchange account, you cannot change the display name. Only your Exchange administrator can make this change.
-
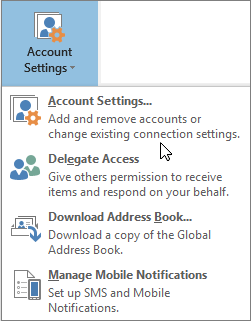
In Outlook, choose File > Account Settings > Account Settings.
-
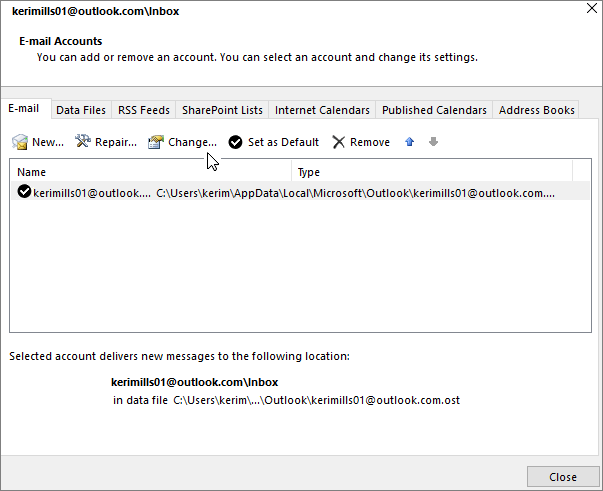
Select the email account that you want to change, and then choose Change.
-
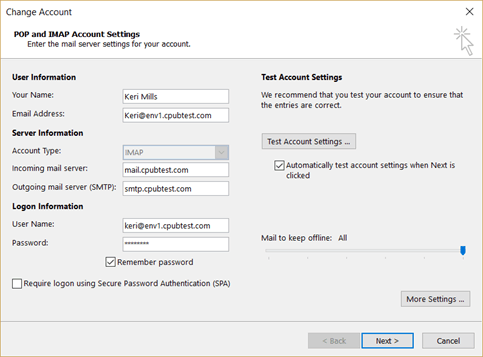
You can change any of the information on the POP and IMAP Account settings page, including name, email address, and password.
-
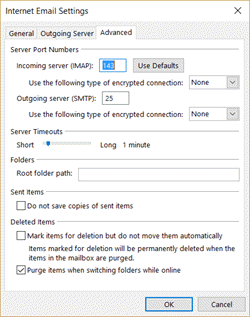
Choose More Settings > Advanced to change other settings, such as the default ports used to send and receive mail, server timeouts, and sent and deleted items options.
-
Click the File tab.
-
On the Info tab, click Account Settings, and then click Account Settings.

-
Select the email account that you want to update, and then click Change.
-
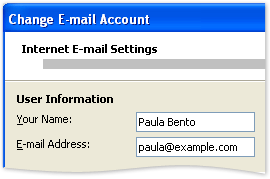
Under User Information, in the Your Name box, type your name the way you want it to appear to people who receive email messages from you.
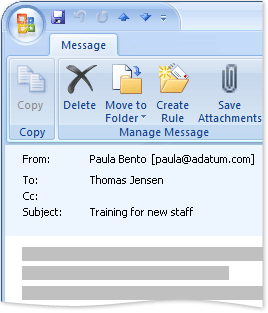
Your email might show only part of your name.
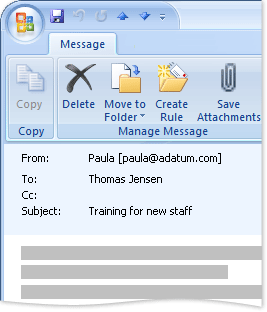
To display your full name, edit your name in Account Settings.
-
On the Tools menu, click Account Settings.
-
On the E-mail tab, select your Internet service provider (ISP) account, and then click Change.
-
Under User Information, in the Your Name box, type your name the way you want it to appear to people who receive email messages from you.
-
Click Next, and then click Finish.
No comments:
Post a Comment