Note: Office 365 Video is being replaced by Microsoft Stream. To learn more about the new enterprise video service that adds intelligence to video collaboration and learn about the transition plans for current Office 365 Video customers, see Migrate to Stream from Office 365 Video.
Subtitles or captions are lines of text that appear at the bottom of a video and provide a transcript of the audio portion of the video. You can also use subtitles or captions to provide a transcript of your video in other languages.
You can add subtitles or captions to any video in an Office 365 Video channel by uploading one or more subtitle or caption files.
Important: Office 365 Video only supports the Web Video Text Track (.vtt) file format. For more information about how to make Web Video Text Track (WebVTT) files, see Create WebVTT or TTML files with Caption Maker.
Note: At this time, the use of WebVTT subtitles or captions, as used in Office 365 Video, are not supported by the native iOS video player. As a result, subtitles or captions will not appear on iOS devices.
To add subtitles or captions to a video in Office 365 Video
-
Sign in to Office 365. For help, see Where to sign in to Office 365.
-
In the top left corner of the page, select the app launcher icon
 and then select the Video tile.
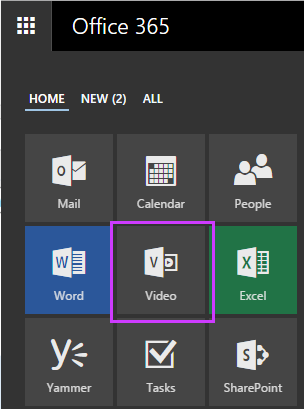
-
On the Office 365 Video top navigation bar, choose Channels.

-
Select a channel for which you have owner or editor permission. For more information about channel permissions, see Changing channel permissions.
-
On the Channel page, select the video for which you want to add subtitles or captions.
-
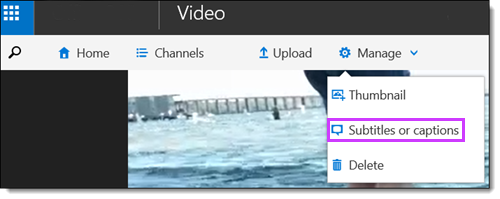
On the Video page, select Manage and then select Subtitles or captions
-
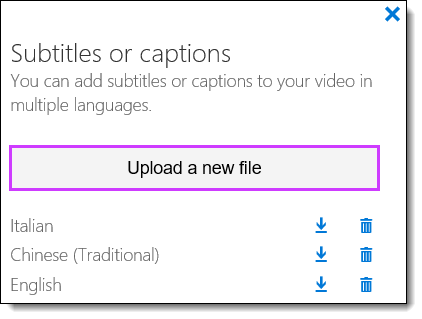
In the Subtitles or captions pane, select Upload a new file.
-
In the Upload a file pane, select the language for your subtitles or captions and click Upload.

-
Navigate to the subtitle or caption file you want to upload and click Open. The subtitle or captions file will be uploaded and viewers will see the text the next time they view the video.
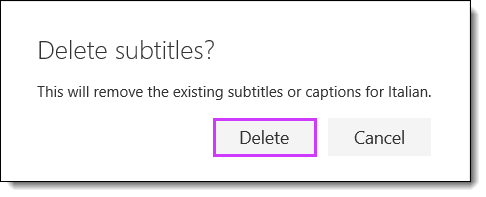
Delete a subtitle or caption file from a video in Office 365 Video
You can also delete a subtitle or caption file that you no longer need from a video.
To delete a subtitle or caption file from a video in Office 365 Video
-
Sign in to Office 365. For help, see Where to sign in to Office 365.
-
In the top left corner of the page, select the app launcher icon
and then select the Video tile. -
On the Office 365 Video top navigation bar, choose Channels.
-
Select a channel for which you have owner or editor permission. For more information about channel permissions, see Changing channel permissions.
-
On the Channel page, select the video for which you want to add subtitles or captions.
-
On the Video page, select Manage and then select Subtitles or captions
-
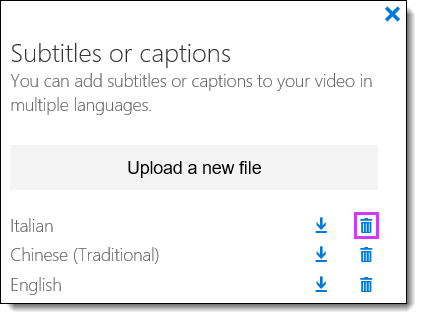
In the Subtitles or captions pane, next to the subtitle or caption file you want to delete, select
 .
.
-
Click Delete to confirm.
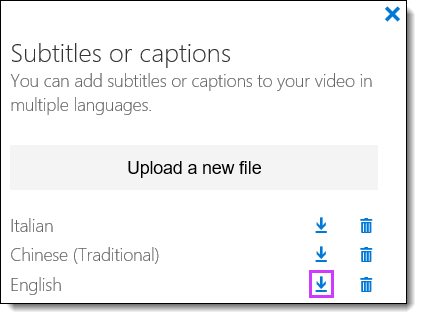
Download a subtitle or caption file from a video in Office 365 Video
If you download a video from Office 365 Video, you also need to download the subtitle or caption file that goes with the video if you want to see the subtitles or captions when you view the video offline.
To download a subtitle or caption file for a video in Office 365 Video
-
Sign in to Office 365. For help, see Where to sign in to Office 365.
-
In the top left corner of the page, select the app launcher icon
and then select the Video tile. -
On the Office 365 Video top navigation bar, choose Channels.
-
Select a channel for which you have owner or editor permission. For more information about channel permissions, see Changing channel permissions.
-
On the Channel page, select the video for which you want to add subtitles or captions.
-
On the Video page, select Manage and then select Subtitles or captions
-
In the Subtitles or captions pane, next to the subtitle or caption file you want to download, select
 .
.
Avdshare Video Converter is just the best Flip4Mac alternative with which users can easily convert any WMV, AVI, MKV, FLV, RMVB, MPG, VOB, WebM etc to QuickTime applications best supported MOV format to enable various videos compatible playback on QuickTime, Mac computers, iPhone, iPad and other QuickTime applications.https://www.avdshare.com/flip4mac-alternative-for-mac-and-windows
ReplyDeleteMicrosoft Office Tutorials: Add Subtitles Or Captions To A Video In Office 365 Video >>>>> Download Now
ReplyDelete>>>>> Download Full
Microsoft Office Tutorials: Add Subtitles Or Captions To A Video In Office 365 Video >>>>> Download LINK
>>>>> Download Now
Microsoft Office Tutorials: Add Subtitles Or Captions To A Video In Office 365 Video >>>>> Download Full
>>>>> Download LINK eZ
Thanks for sharing this useful post. You guys can also add subtitles in VLC and then upload it to YouTube. This is the most time-saving method I tried.
ReplyDelete