In addition to moving or copying files in SharePoint, you can also sync SharePoint files with the OneDrive sync app.
Note: If you don't see other sites listed when you attempt to move or copy items, your organization doesn't allow moving or copying across sites. If you're a SharePoint admin or global admin for your organization, to learn how to enable cross-site copying in the SharePoint admin center, see Allow or prevent custom script.
Select your version of SharePoint from one of the tabs below:
Step 1:
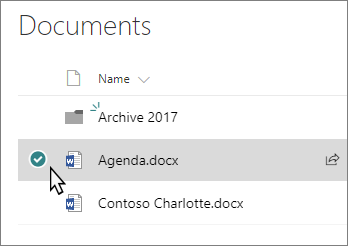
Select files or folders in a SharePoint library.
Step 2:
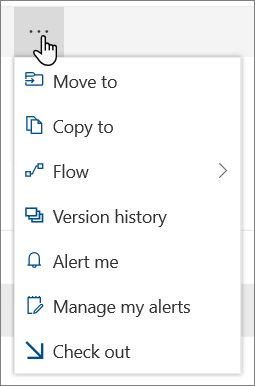
On the command bar, select  (More), and then select Move to or Copy to.
Note: Switch to the modern experience if Move to or Copy to isn't available.
Step 3:
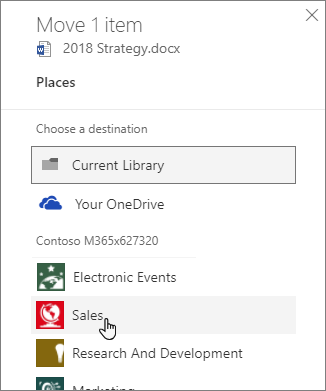
On the Move or Copy panel, choose a destination in the current library, OneDrive, or another SharePoint site. (SharePoint Server 2019 currently only supports the current library.)
Step 4:
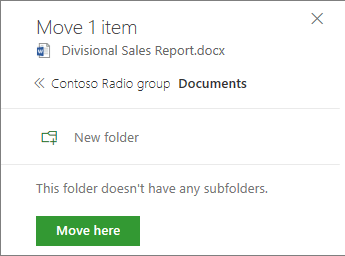
On the Move or Copy panel, select a folder in the current library and select Move here or Copy here. If you want to move or copy your files to a new folder, select New folder to add a new folder. Enter a name for the folder, select the checkmark, and then select Move here or Copy here.
Notes:
-
When you use Move to, the history of the document is copied to the new destination. When you use Copy to with documents that have version history, only the latest version is copied. To copy earlier versions, you need to restore and copy each one. For more info about versioning, see Enable and configure versioning for a list or library.
-
When a file is moving, it continues to appear in the source directory until it's fully moved to the destination and then it will be deleted. The file remains in the source sites Recycle Bin after the Move is complete and is subject to the normal recycle schedule unless a user recovers it from the Recycle Bin.
-
We do not recommend moving OneNote notebooks outside of the OneNote app.
-
Move to and Copy to work best within the SharePoint Online limits.
-
Move to option is not currently available on the Site Pages Library.
-
For common scenarios, visit this Tech Community blog.
-
To learn more about working with documents and libraries, see these YouTube videos from Microsoft Creators.
Copy
-
Select the items that you want to copy, and then select Copy to. Or, for the item, select More
 > Copy to.
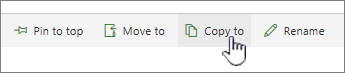
Note: If you're using the classic experience of SharePoint, Copy to isn't available.
-
Under Choose a destination, select the location where you want a copy of the files or folders.
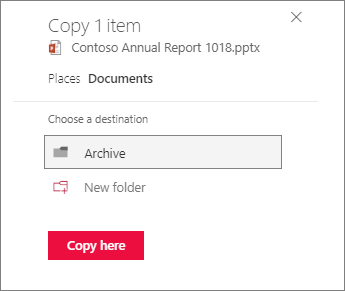
To create a new folder to copy the files to, select New folder.
-
In the text box, enter the name of the new folder.
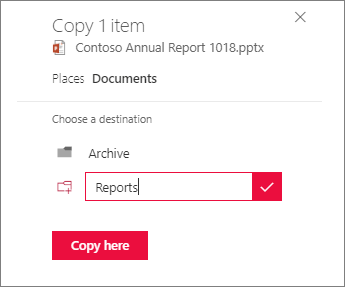
-
Select the checkmark, and then select Copy here.
Notes:
-
You can copy up to 500 MB of files and folders at one time.
-
When you use Copy to with documents that have version history, only the latest version is copied. To copy earlier versions, you must restore and copy each one. For more info about versioning, see Enable and configure versioning for a list or library.
Move
-
Select the items you want to move.
-
In the main menu at the top of the page, select Move to. If you don't see Move to, on the main menu, select ... (ellipses), and then select Move to.

Note: If you're using the classic experience of SharePoint, Move to isn't available.
-
In the Choose a destination pane, select the new location in the document library where you want the files to go, and select Move here.

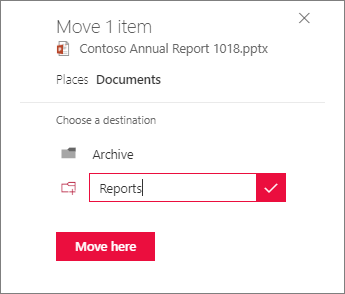
In the Choose destination pane, to add a new folder to the document library, you can also click New folder, and move the item to the new folder. In the text box, enter the name of the new folder, select the checkmark, and then select Move here.
Note: When selecting Move to, the history of the document is copied to the new destination. For more info about versioning, see Enable and configure versioning for a list or library.
If you're not sure which version of SharePoint you're using, see Which version of SharePoint am I using?
No comments:
Post a Comment