Remove columns (Power Query)
Note: Power Query is known as Get & Transform in Excel 2016. Information provided here applies to both. To learn more, see Get & Transform in Excel 2016.
If your query has columns you do not need, you can remove them from your query.
Remove columns
Using the Query Editor ribbon:
-
Select the column (or columns with Ctrl+Click or Shift+Click) you want to remove.
-
In the Query Editor ribbon, select Remove Columns > Remove Columns, or the inverse, which is Remove Other Columns to remove all columns except the selected column.

Using the Query Editor context menu
-
Select the column (or columns with Ctrl+Click or Shift+Click) you want to remove.
-
Right-click any selected columns.
-
From the context menu, select Remove to remove the selected columns, or Remove Other Columns to remove all columns except the selected column.

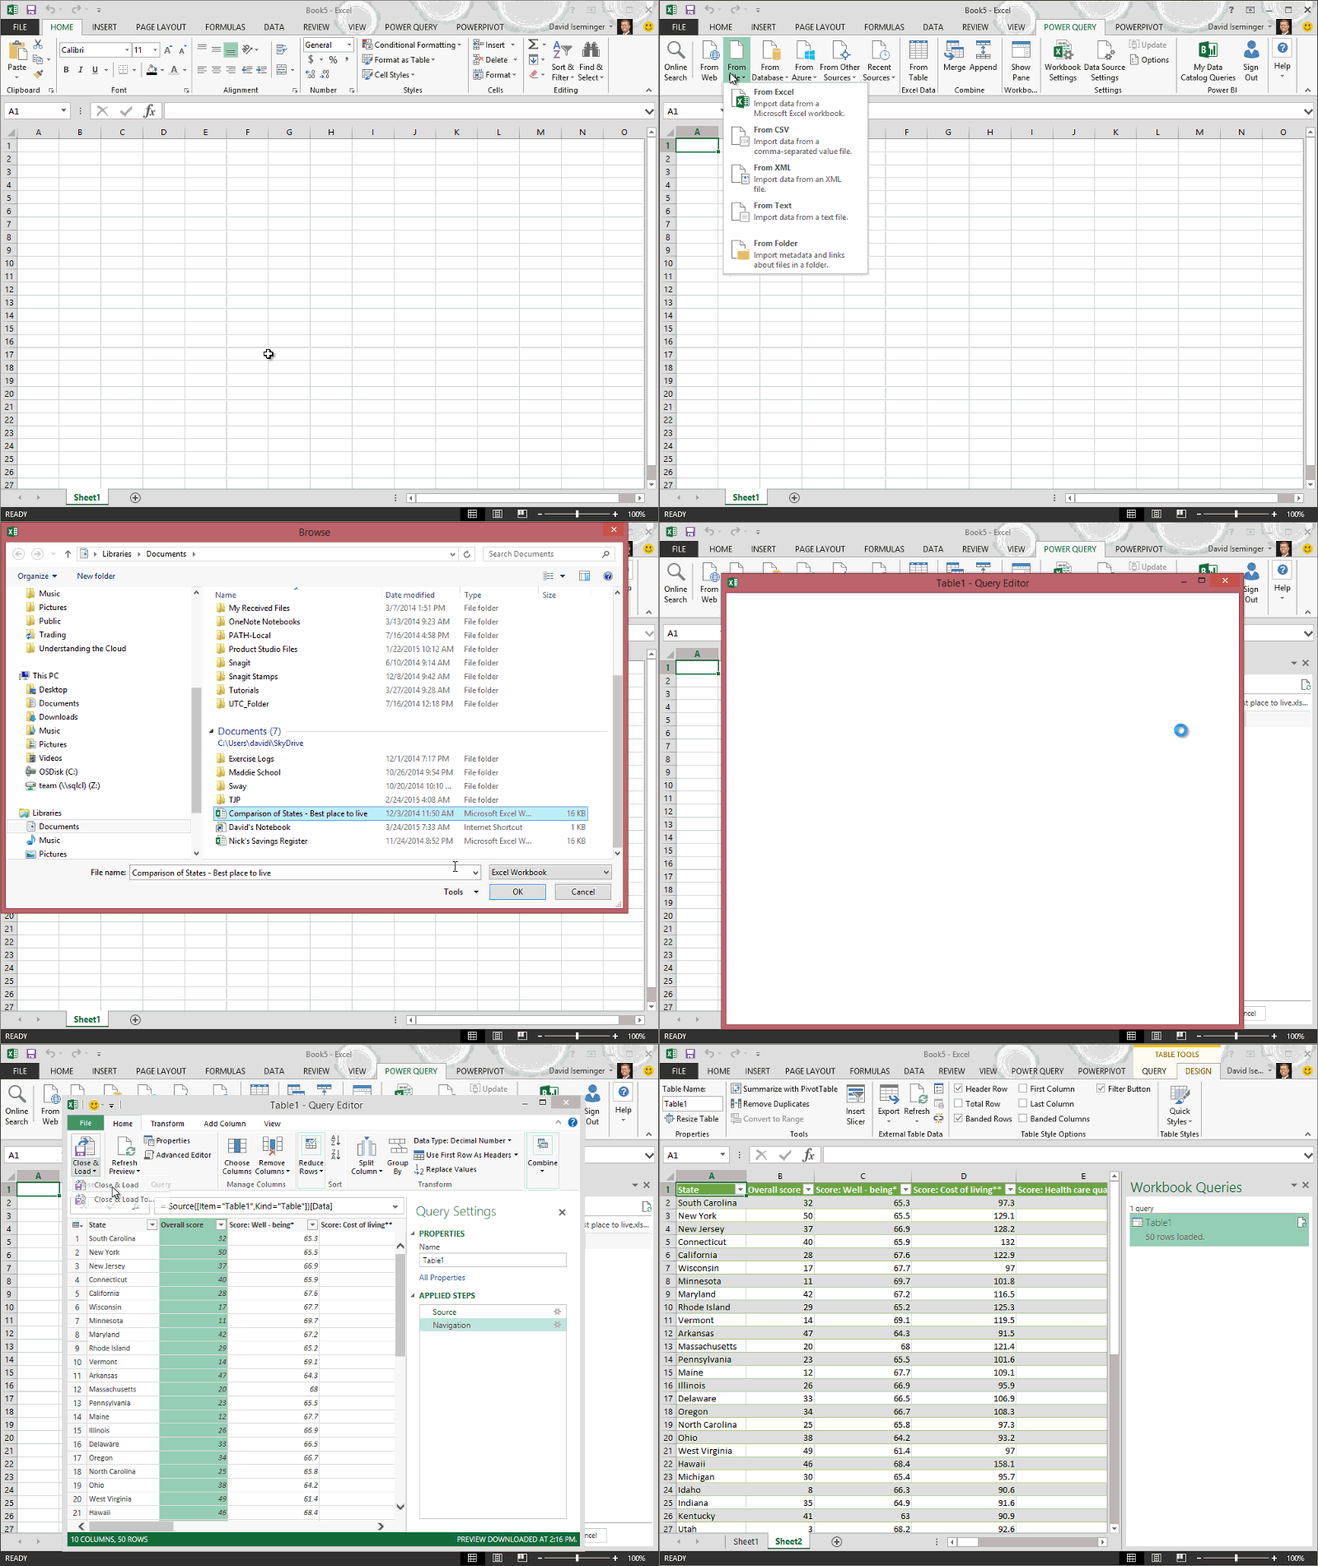
Note: The Query Editor only appears when you load, edit, or create a new query using Power Query. The following video shows the Query Editor window appearing after editing a query from an Excel workbook. To view the Query Editor without loading or editing an existing workbook query, from the Get External Data section in the Power Query ribbon tab, select From Other Sources > Blank Query. The following video shows one way to display the Query Editor.

No comments:
Post a Comment