Make a document read only
If you don't want content reviewers to accidentally modify your document, you can make the document read only before sending it for review. Another method is to restrict formatting and editing.
Making your document a read-only file means that the document can be read or copied but not modified. If one of the reviewers tries to make changes to a read-only file, the changes can be saved only by giving the document a new name or saved to a new location.
Note: Making your document read only doesn't prevent someone from making a new copy of the document and saving it with a different name or in a different place.
Restrict editing
-
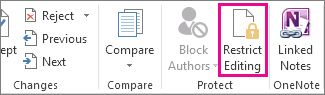
Click Review > Restrict Editing.
-
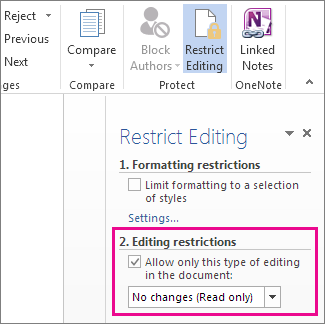
Under Editing restrictions, check Allow only this type of editing in the document, and make sure the list says No changes (Read only).
-
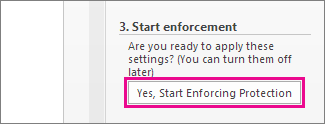
Click Yes, Start Enforcing Protection.
-
In the box that opens, type a password you'll be able to remember, and then type the password again to confirm it.
The password's optional. But if you don't add a password, anyone can click Stop Protection and edit the document.
See also
Add or remove protection in your document, workbook, or presentation
Save as read only
-
Click the Microsoft Office Button
 , and then click Save or Save As if you have previously saved the document.
 -
Click Tools.
-
Click General Options.
-
Click the Read-only recommended check box.
-
Click OK.
-
Save the document. You might need to save it as another file name if you have already named the document.
Remove read only
-
Click the Microsoft Office Button
, and then click Save or Save As if you have previously saved the document. -
Click Tools.
-
Click General Options.
-
Clear the Read-only recommended check box.
-
Click OK.
-
Save the document. You might need to save it as another file name if you have already named the document.
Restrict formatting and editing
The following are the steps for a second method for helping to stop content reviewers from accidentally modifying your document.
-
On the Review tab, in the Protect group, click Protect Document.
-
Under Restrict Reviewing Options, click Restrict Formatting and Editing.
-
In the Restrict Formatting and Editing task pane, under Formatting restrictions, Editing restrictions, and Start enforcement, make the selections that meet your formatting and editing needs.
Unrestrict formatting and editing
-
On the Review tab, in the Protect group, click Protect Document.
-
To clear the check mark, click Restrict Formatting and Editing under Restrict Reviewing Options.
No comments:
Post a Comment