Add images to a header or footer
In addition to page numbers and text, you can place an image in your header or footer, such as a small version of a company logo.
-
Click Insert, and then click either Header or Footer. Dozens of built in layouts appear. Click a simple one, like Blank.

-
To replace a text area with a picture in the header or footer, select the text area. For example, if you chose either the Blank or Banded layouts, double-click [Type here] or [Document title].
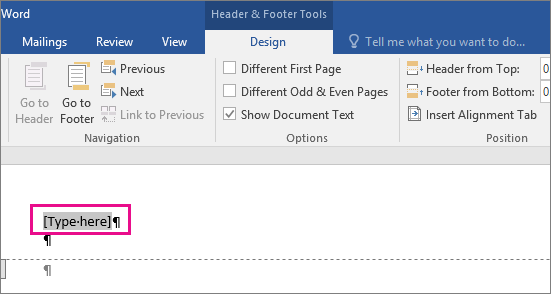
-
On the Header & Footer Tools Design tab, if the picture is stored on your computer, click Pictures and select your picture. If your image is online, click Online Pictures and search from Bing or other online locations.
Note: Once you insert the picture, the ribbon automatically changes to Picture Tools so you can edit or resize the picture or add effects. To resize it more precisely, use the Size options among the Picture Tools. Or select the picture and drag the small circles at the corners.
-
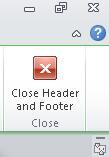
When you're finished, click Close Header and Footer on the Header & Footer Tools Design tab.

-
Click Edit Document > Edit in Word Online if you haven't already opened your document for editing.

-
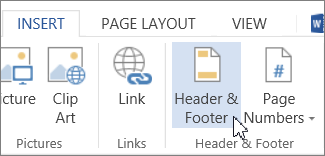
Click Insert > Header & Footer.
-
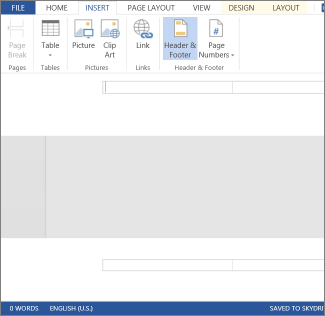
In the white areas that appear at the top and bottom of the document area, place your cursor in one of the table cells.
-
On the Insert tab, click Picture.
-
Browse to the picture you want to insert, and click Open.
-
To resume editing your document, click the gray document area. Note that you won't see your header or footer while editing your document.
-
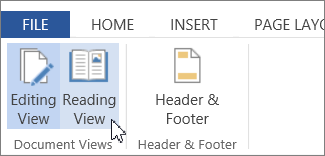
To see what you document will look like with your new header and footer, click View > Reading View.
-
Click Insert, and then click either Header or Footer. Dozens of built in layouts appear. Click a simple one, like Blank.

-
To replace a text area with a picture in the header or footer, select the text area. For example, if you chose the Blank layout, double-click [Type text].
-
On the Header & Footer Tools Design tab, click Picture, and then locate and select your picture on your computer.
Note: Once you insert the picture, the ribbon automatically changes to Picture Tools so you can edit or resize the picture or add effects. To resize it more precisely, use the Size options among the Picture Tools. Or select the picture and drag the small circles at the corners.
-
When you're finished, click Close Header and Footer on the Header & Footer Tools Design tab.
If you only want the picture on one page, see Delete a header or footer from a single page.
No comments:
Post a Comment