Create or remove a hanging indent
Want to create a hanging indent? Want to get rid of one that's driving you crazy? You're in the right place.
In a hanging indent, the second and subsequent lines of a paragraph are indented more than the first line.
The fastest way to add or remove a hanging indent is to use the Ruler on the View tab. If you're working with a bulleted or numbered list, see Adjust the indent in a bulleted or numbered list on the ruler.
Add a hanging indent
-
Click View, and in the Show group, check the Ruler check box.
-
Highlight all the text (other than the first line of the paragraph) you want to indent, and then drag the hanging indent marker on the ruler to the right
 , away from the first-line indent marker above it. How far you drag the marker determines how much the text is indented.
Clear a hanging indent
-
If the ruler isn't visible, click View, and in the Show group, check the Ruler check box.
-
Highlight the text (other than the first line of the paragraph) that's indented, and then drag the hanging indent marker on the ruler to the left
 so that it aligns with the first-line indent marker above it.
Add a hanging indent to an unnumbered list
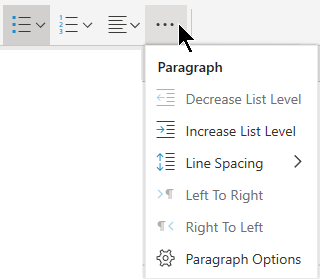
To add a hanging indent to an unnumbered list (short lines of text separated by line breaks, rather than a paragraph that flows from line to line), you can use the Insert List Level button.
-
Highlight all the text (other than the first line of the paragraph) you want to indent.
-
On the Home tab, click Insert List Level in the Paragraph group.

No comments:
Post a Comment