Retention and archive policies in Outlook on the web for business
Use the Retention policies settings to view and modify the list of retention policies and archive policies that are available to apply to your messages. Retention policies control how long your messages will be saved. Archive policies control how long messages are left in an email folder before they're moved to an archive.
You may be able to add or remove optional retention policies and archive policies that were set up by the person who manages your mailbox. Required policies can't be removed.
Note: Managing retention policies for your account is an optional feature, and may not be available to you.
In this article
Manage retention policies
To manage the list of retention policies that you can use:
-
In a web browser, sign in to Outlook Web App using the URL provided by the person who manages email for your organization. Enter your user name and password, then click Sign in.
-
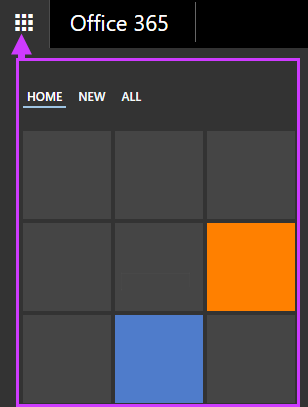
At the top of the page, choose Outlook (or Mail). Or, choose the app launcher
 > Mail.
-
At the top of the page, select Settings
 > Options.
 -
In Options, select Organize email > Retention policies. Or, in Options, select MAIL >Automatic processing > Retention policies.
The following table includes details about the policies that can be applied to items in your message folders. To add additional policies, select add  . To remove an optional policy from your list, select the policy, and then select delete
  .
.
| Column | Description |
| Name | The name of the policy, usually descriptive. |
| Retention action | What happens to a message when the retention period is over. A message may be archived or deleted. |
| Retention period | How long a message will stay in your mailbox before the policy is applied. |
To see the full details about a retention policy, select it to display the details. The details pane will show whether the policy is required, how long a message will be held, where a message will go after the retention period, and any comments.
Assign retention and archive policies
You can see the retention policies available to you in Outlook Web App options. In Options, select Organize email > Retention policies. Or, in Options, select MAIL >Automatic processing > Retention policies.
To assign a retention policy to a message or folder, you have to go to your messages.
-
In a web browser, sign in to Outlook Web App using the URL provided by the person who manages email for your organization. Enter your user name and password, then click Sign in.
-
At the top of the page, choose Outlook (or Mail). Or, choose the app launcher
 > Mail.
-
In the folder pane, right-click the message or folder for which you want to apply a policy and select Assign policy.
-
Select the policy you want to assign. You can also select Use parent folder policy. The policies that are available are controlled by your organization.
What happens to messages that are removed?
A retention policy may permanently delete messages, or it may move them to your Deleted Items folder. If the retention policy description says Delete (Temporarily recoverable) you can use Recover deleted items to recover the messages. How long the items are recoverable is managed by your organization's administrator. The default period is 30 days. See Recover an item that's no longer in your Deleted Items folder in Recover deleted items or email in Outlook Web App.
When you recover an item that was removed by a retention or archive policy, you have to either put it in a folder that doesn't have a policy associated with it, or remove the policy from that item after you recover it; otherwise, the item may be removed again.
What else do I need to know?
-
You can't manage retention policies for your Calendar.
-
Retention policies are created and managed by your organization's administrator.
-
Retention and archive policies are processed once in seven days.
-
You can learn more about managing folders in Outlook Web App in Working with mail folders.
No comments:
Post a Comment