Use the rubrics tool in Assignments to create customizable, reusable rubrics for students to reference and for you to evaluate their work.
Make a new rubric
-
Navigate to the General channel in one of your classes and select the Assignments tab.
-
Select Create > Assignment.
-
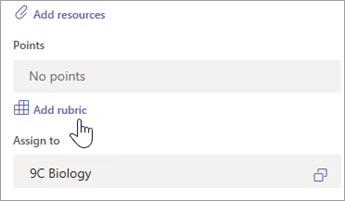
Select Add rubric, then + New rubric. This will open the rubric creator.
-
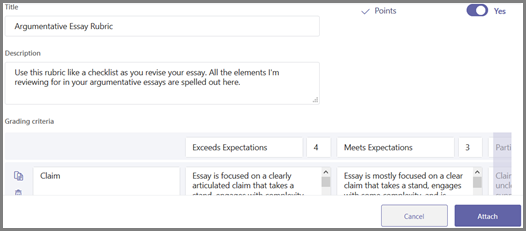
Add a Title (required), optional Description, and turn on Points if you'd like to assign point values to your grading criteria.
-
Customize your grading criteria:
The Excellent, Good, Fair, and Poor defaults can be edited to match your own grading strategy. Customize points here, too, if you decided to add them.
Use the plus signs to add new columns and rows to your criteria.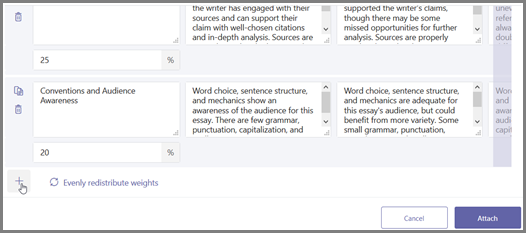
Select the copy icon to duplicate a row or column.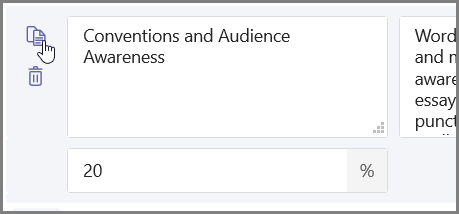
Select the garbage can icon to delete a row or column.
Tip: Enter a percentage of 100 if you'd like to weight some criteria more heavily than others. Make sure everything totals up to 100. If you need to, select Evenly distribute weights to re-set all your percentages.
-
When you're finished customizing your rubric, select Attach.
-
Finish filling in the details of your assignment and then select Assign to send it to your students. When students open this assignment, they'll be able to open your rubric and look at it for reference.
Tip: Preview your student's view of the assignment by opening it and then selecting Student view.
Re-use a rubric you've already made
Every time you create a rubric and attach it to an assignment, it will be saved to your rubric list. To re-use a rubric:
-
Navigate to the General channel in one of your classes and select the Assignments tab.
-
Select Create > Assignment.
-
Select Add rubric and choose a rubric from the list, then select Next.

-
Make any edits you need to the rubric.
-
Select Attach.
Grade student work using a rubric
-
Navigate to the General channel in your class and select the Assignments tab.
-
Select the assignment you're reviewing.
-
Select the document your student has attached underneath Status to open it in the full-screen grading view.
-
Select the rubric name and it will open to the side of the student's document.
-
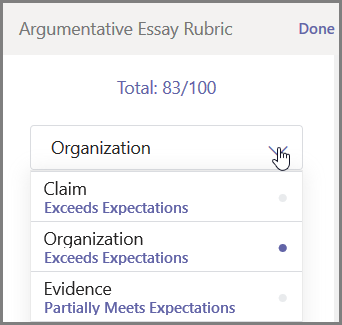
As you review your student's work, use the dropdown menu or arrows to choose the criteria you're assessing.
-
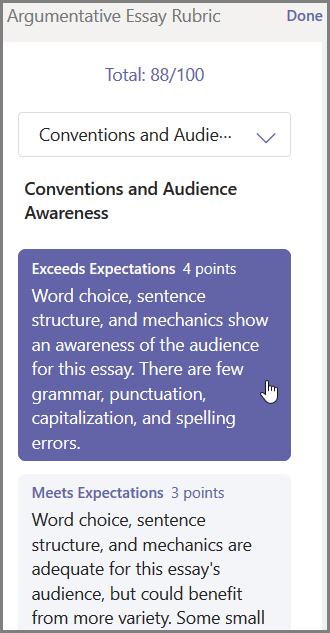
Select the corresponding score you want to give the student for that criterion. When you select it, the scoring square will turn blue.
-
Enter any personalized feedback you'd like to pair with this criteria in the feedback box.
Note: You can also pop out the grading rubric if you prefer to look at the whole grid at once while making your selections.

-
Continue until you've worked your way through the rubric, then select Done.
-
If you set point values and weighting while creating your rubric, points for the assignment will already be tabulated. Add additional feedback here if you'd like, too.
-
Select Return to send this work back to your student now or skip to the next student using the arrows to keep grading.
When a student receives their returned work, they can open their rubric and see how you scored their work, including your personalized feedback: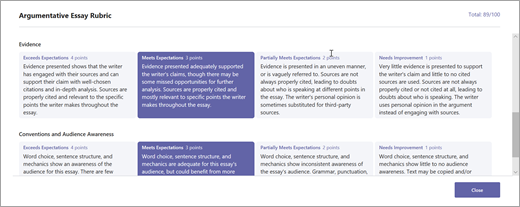
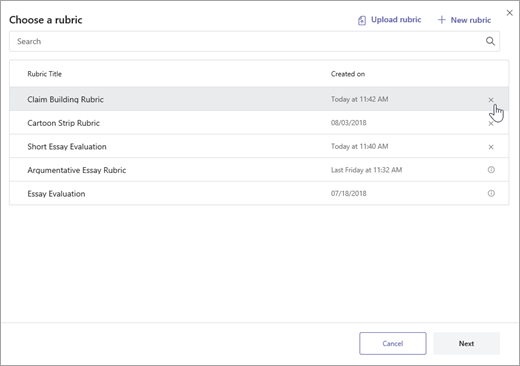
Delete a rubric so that it no longer appears in your rubric list. This will not remove the rubric from assignments where it's already attached.
-
Select Add rubric in a new or existing assignment draft.
-
Select the x next to the rubric you'd like to remove.
Note: Rubrics attached to draft assignments can't be deleted.
Share rubrics you've created in Microsoft Teams by downloading them as a .csv file. When the .csv is uploaded back into Teams, the rubric will retain all of the original's structure and content. Simply adapt for your own use and attach to an assignment.
Download a rubric for sharing
-
Navigate to the General channel in one of your classes and select the Assignments tab.
-
Select an assignment with your rubric attached, then Edit assignment.
-
Select the rubric to open it.
-
Select Download as .csv and follow the prompts to save your rubric as a .csv file.
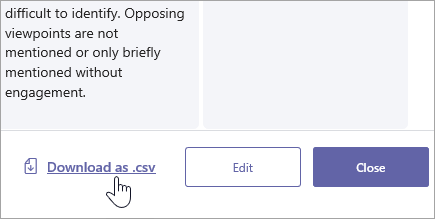
Now, the .csv file is all set to share with other educators. Share to a PLC or Staff team to give everyone access.
Note: For best results, edit your rubrics in Teams instead of in other programs.
Upload a .csv rubric file to Teams
Follow these steps to add a .csv rubric that's been shared with you.
Important: You should only upload .csv rubrics that were originally downloaded from Teams.
-
Select Add rubric in a new or existing assignment draft.
-
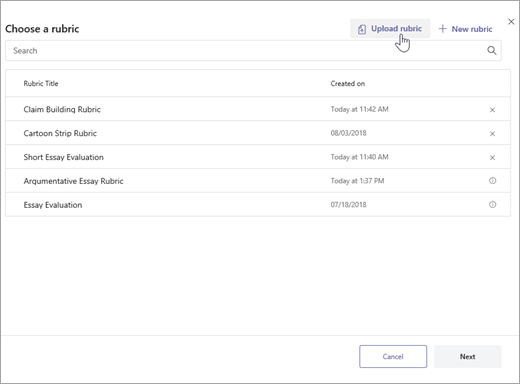
Select Upload rubric and choose your .csv file, then select Next.
-
Review the rubric you've added in the rubric creator window and make any adjustments.
-
Select Attach to add it to your assignment. You'll be able to reuse this rubric for future assignments, too.
No comments:
Post a Comment