Internationalization (Power Query)
Note: Power Query is known as Get & Transform in Excel 2016. Information provided here applies to both. To learn more, see Get & Transform in Excel 2016.
Power Query provides various internationalization capabilities to visualize data for your locale. In the Windows operating systems, a locale is a set of user preference information related to the user's language, environment and/or cultural conventions.
In this article
Data visualization in a localized format
Power Query uses the Operating System locale and regional settings to display data previews in the Query Editor using the expected format for your locale. For example, displaying dates in "MM/DD/YYYY" as compared to "DD/MM/YYYY" format inside the Power Query Editor.
Import a CSV or text file from different file origins
With Power Query, you can customize the File Origin of an imported CSV or text file.
To import text or CSV files from different file origins
-
Import a CSV or text file.
-
Click the gear icon (
 ) next to Source.
 -
In the Comma-Separated Values dialog box, select a locale.
-
Click OK.
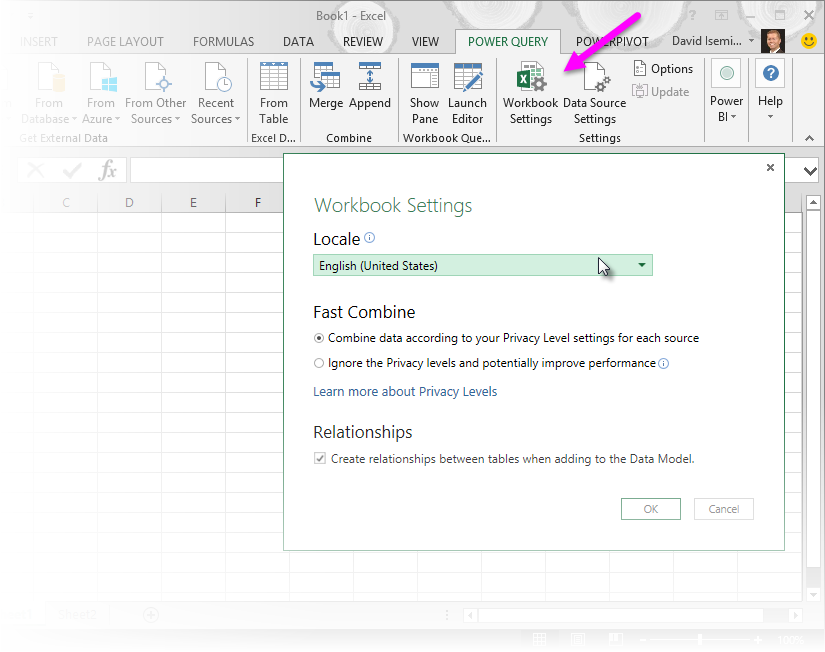
Define a default locale setting
When you create a new Excel workbook that contains Power Query queries, Power Query selects the current Operating System locale as the default locale. This setting determines how Power Query interprets data imported from text sources, and numeric, date and time values. When you send an Excel workbook that contains Power Query queries to a different user, the Locale setting is set to the locale specified by the author (or last person who saved the document). This guarantees consistent Power Query results regardless of your Operating System locale settings.
To modify the query Locale setting
-
In the Workbook Settings ribbon group, select a Locale from the drop down list.
Use a non-default locale setting on a Change Type operation
In addition to the default Locale setting in a workbook, you can specify a non-default locale setting to use at the time of applying a specific Change Type operation (over one or multiple columns within a table). This is helpful when importing data with different regional settings across multiple queries, yet there is a desired default setting to drive the behavior within all queries in the workbook.
With the Change Type operation, you can specify the destination data type as well as the locale setting to use for the conversion.
To set a non-default locale setting
-
Right-click a query column.
-
Click Change Type > User Locale.
-
In the Change Type with Locale dialog box:
-
To change the destination data type, select a Data Type.
-
To change the locale, select a Culture.
-
-
Click OK.
No comments:
Post a Comment