Create a timeline in PowerPoint Online
Use a SmartArt graphic to create a timeline showing target dates for an assignment or project.

-
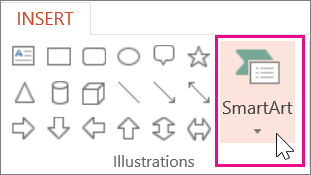
On the Insert tab, click Smart Art.

-
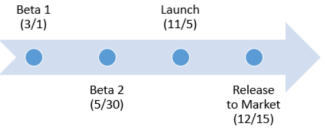
Pick a timeline layout from the SmartArt gallery. For example, this basic timeline.

-
Double-click the timeline on the slide so it turns into a bulleted list.
-
Enter the dates and descriptions, and press Enter.

Tip: To add sub-bullets in the bulleted list click the bullet with the text you want to use for a sub-bullet, and on the Smart Art Tools Design tab, click Demote.

-
Click outside the bulleted list to see the timeline.
To learn more about working with your timeline, see the following:
No comments:
Post a Comment