Add records at 22.cn to set up your SharePoint Online Public Website
Note: The SharePoint Online Public Website information in this article only applies if your organization purchased Office 365 prior to March 9, 2015.
Before you rename the Office 365 operated by 21Vianet website to use your custom domain name, make sure you've finished designing the website (in Office 365) and that you're ready for everyone to see it. Then when you're ready to use your custom domain for the address, you create (at the DNS host for your domain) a CNAME record to point to your customized website.
Ready to create that CNAME record at 22.cn? Follow the steps in this article.
Add the CNAME record to use your custom domain
First, review one of the two following linked articles (depending on the Office 365 subscription you have) for an overview of the process.
-
If you're using Office 365 Small Business, get an overview of the process by reading Use a custom domain name to rename your Office 365 public website.
-
If you have any other subscription of Office 365, review the instructions in Rename your SharePoint Online Public Website address to use your custom domain.
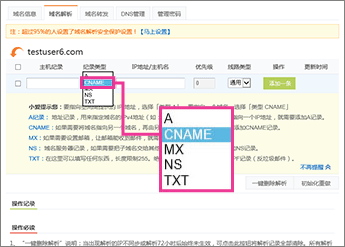
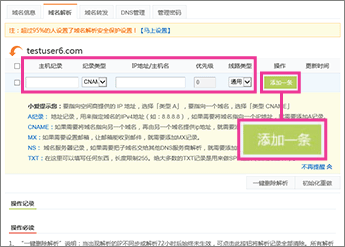
Then, when you're ready to create the required CNAME record, use the steps in the following table.
| Task | What you'll see |
| Add a CNAME record.
| |
Set up redirection so that people can get to your public website if they don't type www
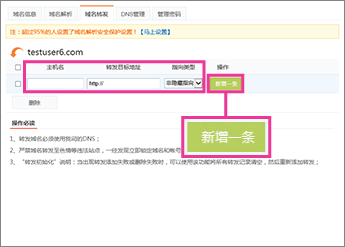
If you want people to be able to get to your public website without including www in the address, use the steps in the following table to set up redirection at 22.cn. This maps the root domain name, for example, http://fourthcoffee.com, to the full domain name, for example http://www.fourthcoffee.com.
For more information about redirection, see How can I make sure people can get to my Office 365 public website if they don't type www?
Note: If you select cloaked URL forwarding, the browser's address bar will retain the original URL after the URL redirects you to the destination URL. If you select uncloaked URL forwarding, the browser's address bar will display the destination URL after the original URL redirects you to the destination URL.
| Task | What you'll see |
| Get an ICP number. Before setting up redirection, you need to get an Internet Content Provider (ICP) number for your domain. | |
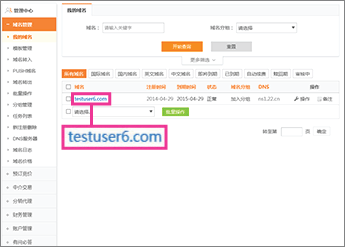
| Select the domain.
| |
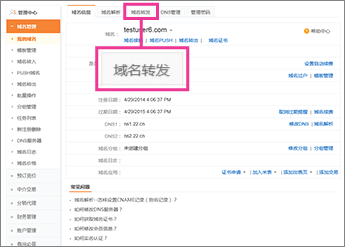
| Set up redirection.
| |
Find your DNS records at 22.cn
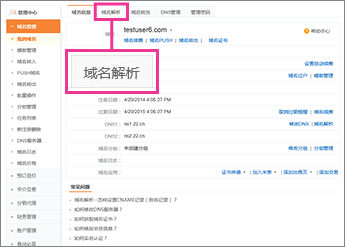
Use the steps in the following table to get to the right spot in the 22.cn website to edit your DNS records.
| Task | What you'll see |
| Go to the page that has the DNS records for your domain.
| |

No comments:
Post a Comment