If you are unable to project to a large screen, try projecting to a Windows 10 PC.
Turn your Windows 10 PC into a wireless display
-
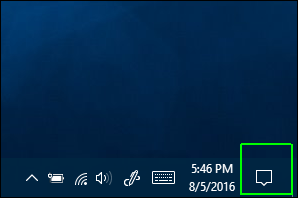
Open the Action Center. It's represented by the speech bubble icon in the lower-right corner of the screen.

-
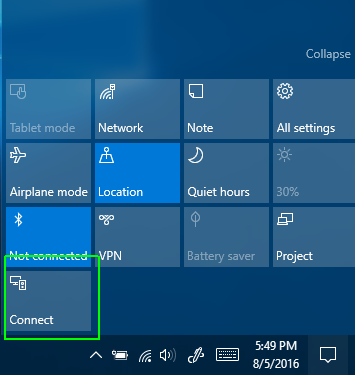
Select Connect. (If the Connect action tile isn't visible, first click Expand to see the entire set of actions.)

-
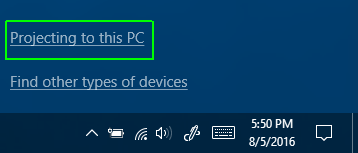
Select Projecting to this PC.

A Settings window appears.
If your PC isn't capable of receiving Miracast, you will be stopped at this point by a message saying so.
-
Select Available Everywhere or Available everywhere on secure networks from the first pull-down menu.

-
Under Ask to project to this PC, select First time only or Every time.
We recommend using First time only, for the sake of convenience. Every time ensures that every attempt to project from a device to that computer would require your permission.
-
We recommend leaving Require PIN for pairing turned off because you have to grant permission on the receiving computer anyway. You can also decide whether you want your PC to receive projection requests only when it's plugged in.
-
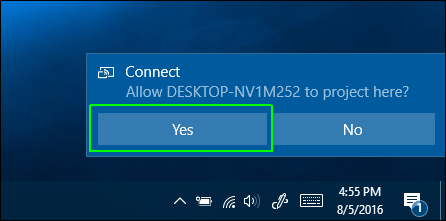
Click Yes when Windows 10 alerts you that another device wants to project to your computer.

The Windows Connect app opens in its own window. You can drag, resize, or maximize the window.
No comments:
Post a Comment