Specify 3D Maps scene options
Use time options to control how long a tour scene lasts, and to set the length of time between scenes. Use effects to highlight a scene with circular motions, rotations, pans, or zooms.
Change how long it takes to switch between scenes
A transition is the change from one scene to the next, so to include a transition a tour must contain at least two scenes.
(Therefore, the first scene in a tour never has a transition; it starts immediately.)
-
Select the scene that the tour is switching to.
(For example, to set the time between the first and second scene, select the second scene.)
-
Click Home > Scene Options.
-
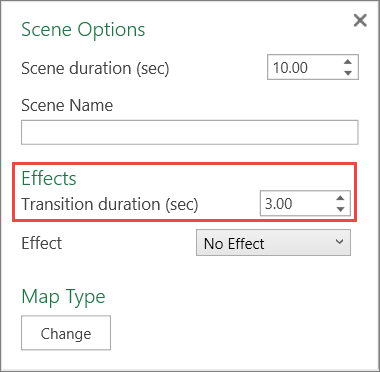
Under Effects, in the Transition duration (sec) box, select the number of seconds that you want the transition between the scenes to take.

Note:
-
The first scene in a tour doesn't have a transition; it starts immediately.
-
By default, a transition between scenes is 3 seconds.
-
A transition of 0 seconds creates a "cut" style transition where the incoming scene starts immediately.
-
A transition always travels the entire distance between two scenes.
For example, when a scene switches from a view featuring East Asia to a view of Europe, the globe rotates during the transition. The globe may pitch upward or downward, depending on where each scene is centered in relation to the equator.
-
During a transition, text boxes, annotations, and the last data state from the previous scene are preserved until the new scene starts.
-
Transitions are designed to rotate as little as possible between scenes.
Specify how long a scene lasts
A scene's duration value controls how long the scene lasts, and how quickly the geographic data are plotted and updated over time on the map.
-
Select the scene that you want to work with.
-
Click Home > Scene Options.
-
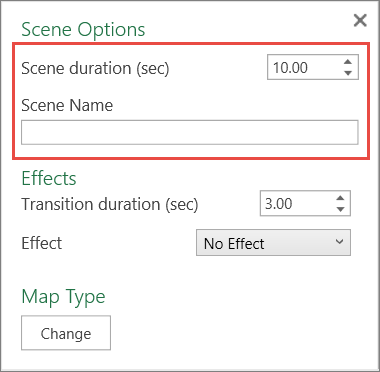
In the Scene duration (sec) box, enter the number of seconds that you want the scene to last.
If you want to give the scene a name, enter the name in the Scene Name box.

Specify the effect you want to apply
Use effects to highlight a scene with circular motions, rotations, pans, or zooms.
-
Select the scene that you want to work with.
-
Click Home > Scene Options.
-
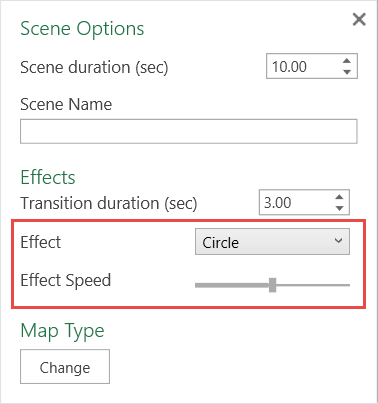
In the Effect box, pick the effect that you want, and then adjust the Effect Speed slider to control the speed and/or distance of the effect.

Note:
-
The Circle and Figure 8 effects move in a repetitive circular motion.
-
The Dolly and Rotate Globe effects move clockwise in a straight line.
-
The Push In effect "zooms in" on the scene, continuously increasing the size of the globe and zeroing in on the scene's center for the entire duration of the scene.
-
The Fly Over effect moves the globe, depending on where on the globe the scene is centered, downward (Northern hemisphere) or upward (Southern hemisphere).
-
All effects last for the entire duration of a scene.
-
You can use the Effect Speed slider to control how quickly the globe turns or how many circular motions are completed in the scene.
No comments:
Post a Comment