Once you have finished editing a diagram in Visio for the web, you often want to print it.

Important: Printing and exporting a diagram in Visio for the web requires a license to edit. For more information, contact your Office 365 admin.
Print a diagram
You can print a diagram directly from Visio for the web.
-
Open the diagram for editing.
-
Press Ctrl+P, or select File > Print > Print.
-
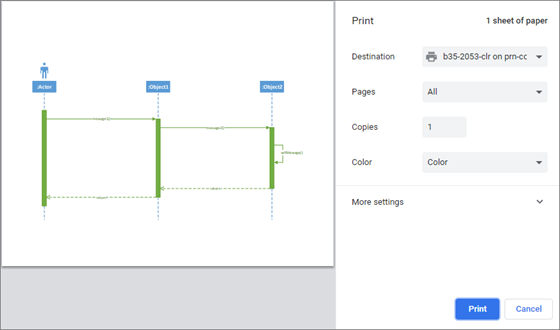
In the Print window, select the options you want. For example, you may want to adjust the size, orientation, or number of sheets.
-
Optionally, select More settings (near the bottom of the pane) to see more options you can set, such as adjusting the scale or the print quality.
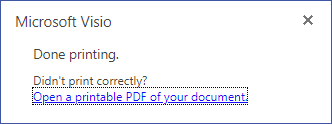
Tip: If the diagram doesn't print correctly, select Open a printable PDF of your document.

Export a diagram as a PDF file
Alternatively, you can export the diagram to a PDF file, and then print it from the desktop.
-
Open the diagram for editing.
-
Select File > Save As > Download as PDF.
-
In the Adobe viewer or reader, select Print file or press Ctrl+P.
For more information on PDF software, see PDF reader, PDF viewer.
-
In the Print dialog box, select the options you want. For example, you may want adjust the size, orientation, or number of sheets. For more information, select Help.
Work with print areas in a diagram
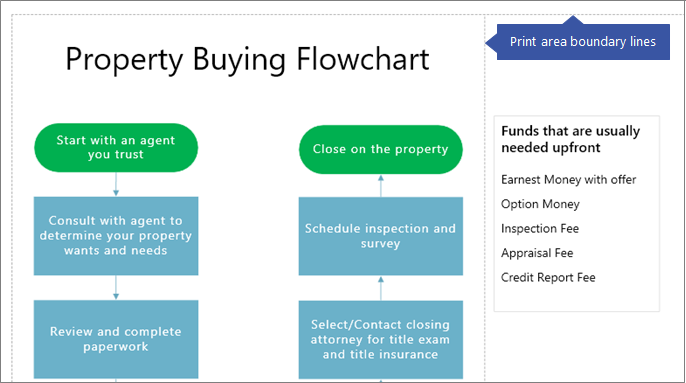
By default, if a diagram on a page is larger than 8½×11 inches, then different letter-size areas are separated by dotted boundary lines on the canvas. These dotted lines indicate the current print areas for the diagram:

You may want to move shapes or resize shapes to add or remove the print areas.
To hide the dotted boundary lines:
-
Go to the View tab of the ribbon, and then clear the Page Breaks box.
See Also
Use Visio Viewer to view or print drawings
No comments:
Post a Comment