You can capture additional information about the tasks in your project by creating a new column in your task list. To learn about tasks lists, see Create and manage a project task list.
Create a new column
-
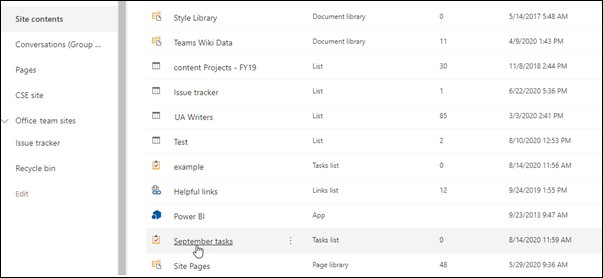
From Site contents in the navigation pane, select the task list (If you're creating a new task list, select +New > App, and search for the Tasks app. (If you can't find the app, you will need to add an app and create a project task list.)

-
After you open the task list, on the Tasks page, click the plus (+) Add Column at the top of the far right column of the task list.
-
If the information you want to capture is Text, a Number, a Date and Time, or a Person or Group, you can select that option in the list.
-
If you want to capture information of a different type, such as a drop-down list of different options, currency, or a hyperlink, you can select More Column Types and use the box that appears to add your new column.
Tip: You can also click Create Column, in the Manage Views group on the List tab, to add a new column.
-
After you have added a column, you may want to move it left or right in the task list. To do this, click Modify View, in the Manage Views group on the List tab.
-
In the Columns section, use the Position from Left drop-down lists to reorder the columns.
-
When you've finished, select Stop editing this list.
For more information on modifying a view, see Create, change, or delete a view of a list or library.
No comments:
Post a Comment