When you add a modern page to a site, you add and customize web parts, which are the building blocks of your page. This article describes the Planner web part.
Notes:
-
Some functionality is introduced gradually to organizations that have opted in to the Targeted Release program. This means that you may not yet see this feature or it may look different than what is described in the help articles.
-
The Planner web part is available only on group-connected Team sites.
-
The Planner web part is not available in SharePoint Server 2019.
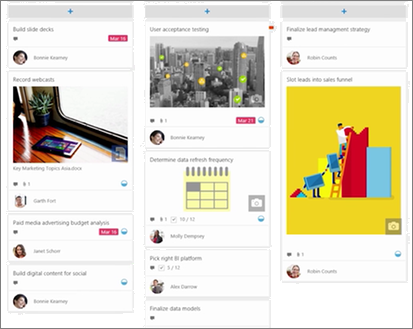
Microsoft Planner is a Microsoft 365 service that lets you create boards and add your team's tasks and assignments. On your Planner board you can sort your tasks into columns (or buckets). Buckets can indicate stages of development, days of the week, sprints, and more. You can move tasks around your board just by dragging and dropping them, so if you complete a task or just want to prioritize and shuffle things around, you can do that easily. Planner boards are helpful for communication, too, since they indicate where you and the rest of your team are with respect to completing tasks. Additionally, you can switch to charts view to display your team's progress. To find out more about creating plans, building teams, assigning tasks, updating status visually, and more, see Planner help.
With the Planner web part, you can show board or charts and work with your plan right on your SharePoint page.

Add the Planner web part
-
Go to the page where you want to add the Planner web part.
-
If you're not in edit mode already, click Edit at the top right of the page.
-
Hover your mouse above or below an existing web part or under the title region, click
 , and then select the Planner web part.
 -
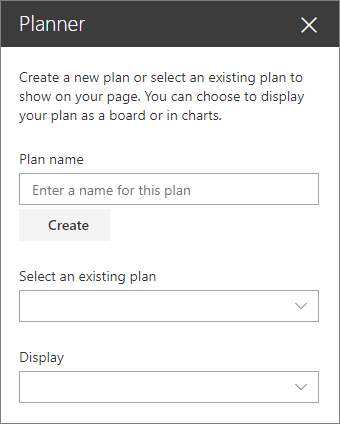
If you want to create a new plan, enter a new plan name under Plan, and then click Create.

If you want to show an existing plan, select the plan you want to use in the box under Select an existing plan.
-
Under Display, select whether to show your plan in Boards or track your progress visually in Charts.
No comments:
Post a Comment