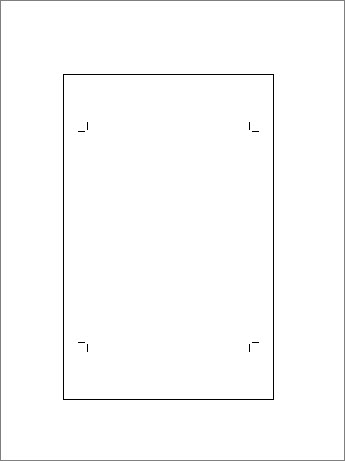
Remove crop marks in Publisher
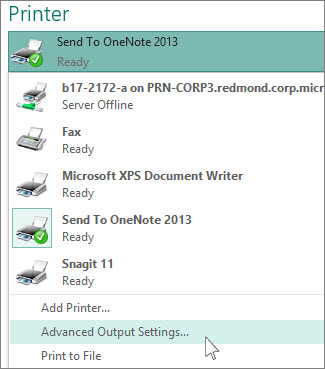
Crop marks are set as part of the printer settings. To remove them, go to File>Print, click the drop-down arrow next to your printer, and click Advanced Output Settings. That's where you control your crop marks.

-
Click File to open the Backstage view, and click Print.
-
Under Printer, click the arrow next to the printer, and click Advanced Output Settings.

-
On the Marks and Bleeds tab, under Printer's marks, uncheck the Crop marks box, and click OK.

No comments:
Post a Comment