Insert, change, or delete a table in Outlook.com or Outlook on the web
You can insert a table in your Outlook.com or Outlook on the web email messages or calendars to help you organize your data.
Insert a table
-
In the body of the email message or calendar item, choose the More down arrow.
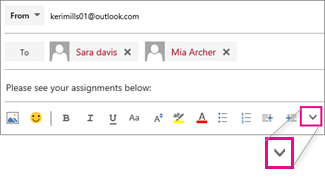
-
Choose Insert table, drag the pointer to select the number of columns and rows you want in your table, and then click to insert the table.
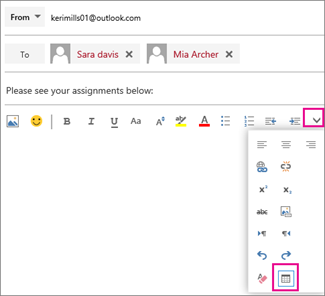
-
Add content to your table.
Change, apply style, or delete a table
You can use the table mini formatting toolbar to change its layout and appearance. Click inside the table you created to view the toolbar.

Tip: If you don't see the formatting bar, click outside and then back inside the table.
Toolbar options
Select the cells you want to change and then choose a toolbar option.
-
Insert
Use to insert a row or column.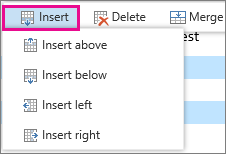
-
Delete
Use to delete the table, a row, or a column.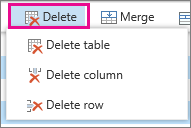
-
Merge
Use to merge cells.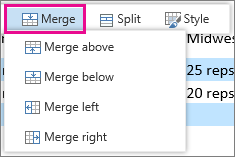
-
Split
Use to split a row or column horizontally or vertically.
-
Style
Use to embellish your table.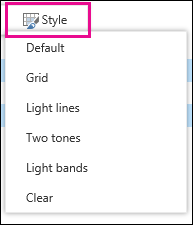
No comments:
Post a Comment