Color categories are a great way to visually group similar messages, tasks, contacts, or calendar events.
-
Select an Outlook item (either an email, calendar event, contact, or task.
-
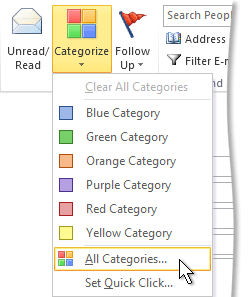
In the Tags group on the Ribbon, click Categorize, and then click All Categories.

Note: For an open calendar items, the Tags group appears on the Appointment or Meeting tab. For an open contact or task, the Tags group appears on the Contact or Task tab.
-
Click a category, and then click Rename.
-
Type the new name for the color category, and then press Enter.
-
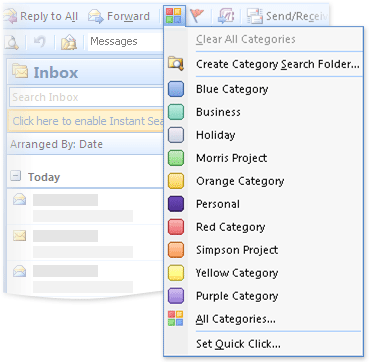
On the toolbar, click Categorize
 .
. -
Click All Categories.

-
In the Name list, click the name of a color category, and then click Rename.
-
In the Name list, type the new name for the color category.
-
To automatically assign the color category you are renaming to items that are selected in the main Microsoft Outlook window, select the check box next to the color category in the Name list, and then click OK.
-
The first time that you assign an existing color category to an item, you are prompted to rename the color category.
-
No comments:
Post a Comment