Microsoft 365 lets you adjust the opacity of a picture.
| |
-
Insert a picture in your document.
-
On the Picture Tools Format tab, select Transparency.

The menu shows thumbnail-sized versions of seven preset transparency options for your picture (0%, 15%, 30%, 50%, 65%, 80% or 95%).
-
Select a preset option. The picture in the document immediately changes according to your selection.
-
Alternately, you can choose Picture Transparency Options to customize the transparency level.

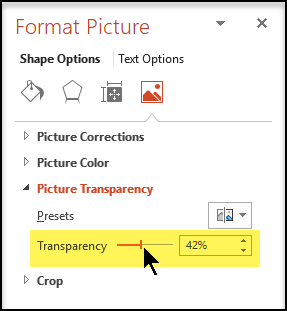
The Format Picture pane opens, and you can drag the Transparency slider rightward to decrease the opacity of the picture.

Requirements
 | Applies to |
|---|---|
| Change the opacity of a picture | PowerPoint for Microsoft 365, Word for Microsoft 365, Excel for Microsoft 365 |
An alternative if you don't have this feature
While earlier versions of Office for Windows don't have this Transparency feature, there is a workaround for picture transparency described in Make a picture transparent.
-
Select the picture for which you want to change the transparency.
-
Select the Picture Format tab, and then select Transparency
.
A gallery of preset transparency options for the picture appears.
-
Select one of the preset options, or select Picture Transparency Options at the bottom for more detailed choices.
The Format Picture pane opens on the right side.
-
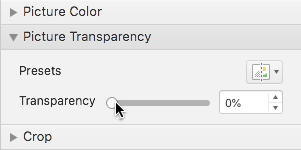
Under Picture Transparency, drag the transparency slider rightward to set the exact percentage of transparency you want, or set a percentage value in the box.

You can vary the percentage of transparency from 0 (fully opaque, the default setting) to 100% (fully transparent).
 This feature is available only to
No comments:
Post a Comment