On the Microsoft Classroom home page, teachers can:
-
Personalize the look of Microsoft Classroom
-
Navigate across classes
-
Filter Classes
-
Set up a new class
-
Customize a class
-
Add students to a class
-
Add teachers to a class
-
Delete students from a class
-
Delete teachers from a class
-
Mute students from class conversations
Personalize the look of Microsoft Classroom
Students and teachers can personalize the cover photo for the Assignments page. Select the ellipses (…) on the upper right corner and select Personalize. You can select one of the images provided, or no image.

Navigate classes and assignments
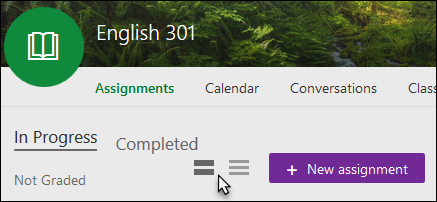
By default, Classroom displays assignments for all active classes. View them as a list, with short descriptions, or in card view, which provides more detail.

Apply a filter to show assignments for a particular class, or all active classes.
Select Inactive Classes in the navigation pane (teacher view only) to expand or hide inactive classes.

Creating a new class
Creating a new class in Classroom is automatic for schools and districts that use School Data Sync, which is included in Office 365. Classes, teachers, and students are automatically created and enrolled using the class roster information in the school's student information system. For schools that do not use School Data Sync, Microsoft Classroom gives teachers the option to create and manage classes manually.
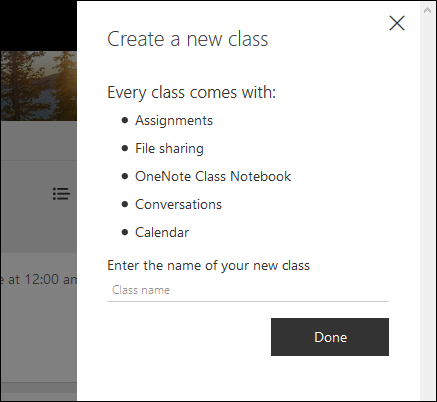
To create a new class, choose New Class, enter a unique name, select Done. The class will be created in the list of inactive classes.

To customize the class, expand Inactive Classes, select the class you created, then select Manage. From the Manage screen you can:
-
Type a description of the class
-
Select a color, icon, and cover photo for the class that will be displayed in Classroom to visually differentiate it from other classes
-
Enter or change the class name, number, start date, end date
Adding and Managing Students and Teachers
To add students to a class, find the class you want to manage in either the active or inactive list, select the class name and select the Students and Teachers link in the upper right-hand corner
Select Add student, type the student's name or email address, select Done.
Once a student has been added, you have additional options for managing the student.

-
Mute - Teachers can mute a student from participating in conversations if a student is not using the conversation feature appropriately or if a teacher wants to prevent all conversations for a particular class.
-
Remove - Teachers can remove a student from the class, which will delete them from the class list, remove any assignments from the student's Classroom home page, and prevent the student from participating in further assignments or conversations with the class group.
-
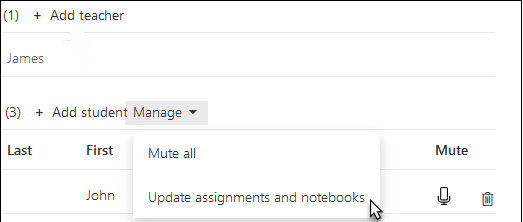
If a student is added automatically through School Data Sync, you will need to select Manage > Update assignments and notebooks to ensure the new student gets all the latest assignments through Classroom.
Teachers can also add or remove teachers if a class is taught by one or more teacher or if there are teacher assistants who need the ability to create, view and grade assignments.
To add a teacher, Select Add teacher, type the teacher's name or email address, and select Done.
Activating and deactivating a class
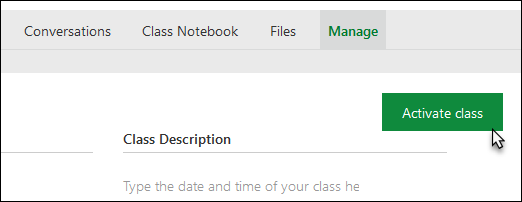
To activate a class, under Inactive classes choose the class name, then Manage > Activate Class. Activating the class makes assignments visible for all students.

To deactivate a class, choose the active class name, then Manage > Deactivate class. This will move the class to the inactive class list and hide any assignments from students. Assignments are preserved and to easily update when the class is reactivated.
No comments:
Post a Comment