Add a border to a picture
The Picture Styles gallery offers many preset styles that make it easy for you to add a special sort of border with one click.
-
Choose the image that you want to add a border to.
-
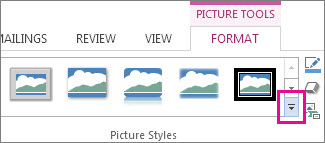
On the Picture Format tab, in the Pictures Styles gallery, choose a style.
Tips:
-
Choose More to view additional styles in the gallery.
-
-
Customize your picture's border
-
Choose the image that you want to add a customized border to.
-
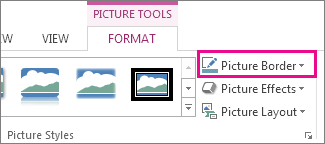
Go to Picture Format > Picture Border.
-
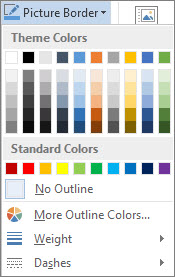
Choose a color.
-
Choose one of the following:
-
In the Weight list, choose a border width.
-
In the Dashes list, choose a line style.
-
Remove a border from a picture
The way you remove a picture border depends on whether it's a picture style or a custom border.
-
Choose the picture you want to remove a border from.
-
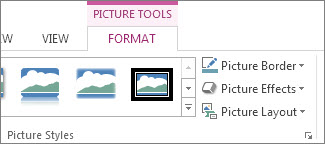
Go to Picture Format and do one of the following:
-
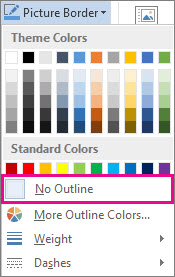
If the border is an outline, in the Picture Border list, choose No Outline.
-
If the border is a style and you know which style it is, In the Picture Effects list, choose the style that's applied, then choose No (style). For example, to remove a shadow, select Picture Effects > Shadow > No Shadow.
-
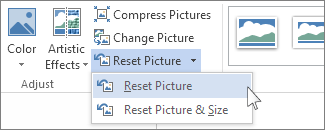
If you aren't sure what style is applied, you can reset the picture, but resetting also will remove any other changes you've made. In the Adjust group, choose Reset.
-
Remove a custom border
-
Choose the picture you want to remove a customer border from.
-
On the Picture Format tab, in the Picture Border list, choose No Outline.
Add a border to a picture
-
Select the picture that you want to apply a border to.
To apply a border to specific table cells, select the cells, including the end-of-cell marks.

Note: Press Ctrl+* to turn on Show/Hide paragraph marks and view the end-of-cell marks.
-
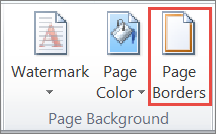
On the Page Layout tab, in the Page Background group, select Page Borders.
-
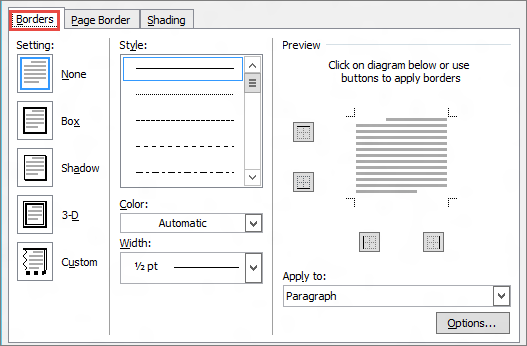
In the Borders and Shading dialog box, on the Borders tab, choose one of the border options under Settings.
-
Select the style, color, and width of the border.
-
To place borders only on particular sides of the selected area, select Custom under Setting. Under Preview, select the diagram's sides, or select the buttons to apply and remove borders.
Change the border of a picture
-
Select the picture whose border you want to change.
-
On the Page Layout tab, in the Page Background group, select Page Borders.

-
Click the Borders tab, and change any options that you want.
-
Select the picture whose border you want to remove.
-
On the Page Layout tab, in the Page Background group, select Page Borders.

-
Click the Borders tab.
-
Under Setting, select None.
Add or remove a picture border
-
Select the picture to which you want to add, change, or remove a border.
-
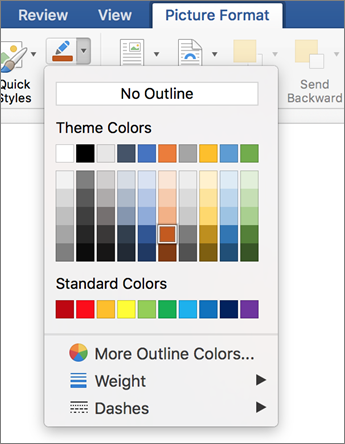
Select Picture Format, and then select the arrow next to Picture Border.
-
Do any of the following:
To
Do This
Add or change the color of the border
Either select the color you want, or mix your own color by selecting More Outline Colors.
Add or change the thickness of the border
Point to Weight, and then choose the line weight you want.
Add or change the style of the border
Point to Dashes, and then select the line style you want.
Remove the border from the picture
Click No Outline.
No comments:
Post a Comment