 | This feature is only available to Microsoft 365 subscribers. Subscribers get new features and improvements monthly. Click to try or buy a subscription. Also, QuickStarter is available only in: English (United States), French (France), Italian (Italy), German (Germany), Spanish (Spain), and Japanese (Japan). |
PowerPoint QuickStarter builds an outline to help you get started researching a subject of your choosing.


Enter a subject


Select the slides to keep


Get the outline

The QuickStarter outline includes:
-
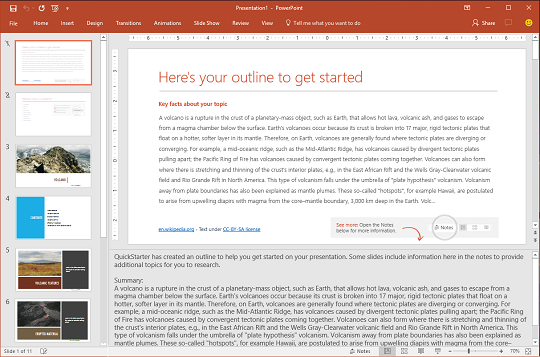
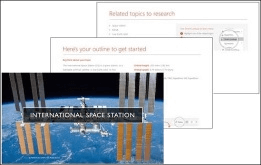
Two slides of information gathered from online sources. The first slide lists key facts on the slide and in the Notes pane below the slide. The second slide lists related topics for you to research. (These two slides are just for you, so they are hidden from view when you present your slide show to others.)
-
A title slide.
-
A table of contents, based on selections you made.
-
A slide for each subject, sometimes with additional suggested talking points in the Notes below the slide.
-
A concluding slide, "Works Cited," where you list the sources of information you used for research.

Images included in the outline are public domain or licensed under Creative Commons.

Choose a subject and begin doing research
To create an outline
-
In PowerPoint for Microsoft 365 or PowerPoint for Microsoft 365 for Mac, select File > New. Then select the QuickStarter template:

If you haven't previously turned on Office Intelligent Services, you'll need to turn them on in order to see and use QuickStarter in PowerPoint: Go to File > Account, and under Account Privacy select Manage Settings.
-
Specify a subject to search on, or choose from a popular subject shown at the bottom of the dialog box.
QuickStarter gathers information and presents you with a list of subjects related to the topic you searched on.
If you see inappropriate content, move your mouse pointer over it, click the more (...) command in the upper right corner of the icon, and select Report inappropriate topic.

-
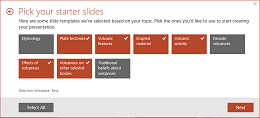
Select the boxes that represent topics you want to include in the outline that QuickStarter will assemble for you. (Use Select All to choose all the subjects at once.)
-
Click Next to confirm the list of subjects you've selected to include in the outline. (Each subject you select becomes a slide in the outline.)
-
Pick a design for the slides in the presentation, and then click Create.
PowerPoint puts together your outline presentation and opens it for you.
-
Read the outline and begin doing your research. Use the key facts (on slide 1) and related topics (slide 2) for ideas as you research and write about your subject. Sometimes, there is additional information in the Notes below the slide.
Next steps
Look up information online

Research and write
The first slide in the presentation is, "Here's your outline." It includes a summary about the topic, and usually includes dates and other kinds of useful information. Any paragraph on the slide that is truncated by an ellipsis (...) is repeated in full in the slide Notes below.
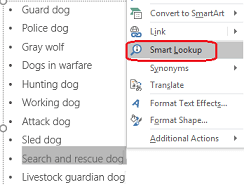
The second slide in the presentation is "Related topics." This slide lists terms worth researching further. You can begin by selecting a word or phrase in the outline, right-clicking it, and choosing Smart Lookup to see definitions, websites, and top related searches from the web about that term.
Other slides in the presentation will be about a suggested subject (based on the subjects you chose while creating the outline). Some slides about suggested subjects also include suggested talking points, which are listed in the Notes pane for that slide.
Design Ideas
To add variety to the look and feel of your presentation, open Design Ideas by going to Design > Design Ideas.
No comments:
Post a Comment